With the holiday season around the corner, you are probably already thinking about menus, guest lists, and decorations. However, have you taken a good look at your kitchen and bathroom floors? You want your guests to see your home in its best light, but the stained grout lines between your tiles can make your space feel unclean and neglected. Addressing this problem can be frustrating if you don't know where to start.
At Restore-It, we are well aware of this problem. For years, we have helped homeowners across our community tackle this exact pre-holiday panic. We have seen everything from simple kitchen spills to years of built-up soap scum in bathrooms.
The good news? With the right approach, you can restore your tile and grout to a holiday-ready sparkle. This guide will walk you through why grout looks dirty so quickly, safe and effective DIY cleaning solutions, what to avoid, and when it’s smarter (and faster) to call in the pros. By the end, you will have a clear plan to ensure your floors sparkle just in time for the holiday season.
Why Does My Grout Always Look Dirty?
If you mop often, you may wonder why grout still turns dark. The truth is, it’s not about your cleaning habits; instead, it’s about grout itself.
The Tile Council of North America reminds us that, unlike tile, which is usually glazed and less porous, cement-based grout is naturally porous. This means it soaks up whatever comes its way: dirt, oils, spills, and even the dirty water you push across your floors while mopping.
- In kitchens, grout absorbs cooking splatters, such as oil, wine, or coffee.
- In bathrooms, soap scum, shampoo residue, and constant moisture become trapped in grout lines, which can also encourage mold and mildew growth.
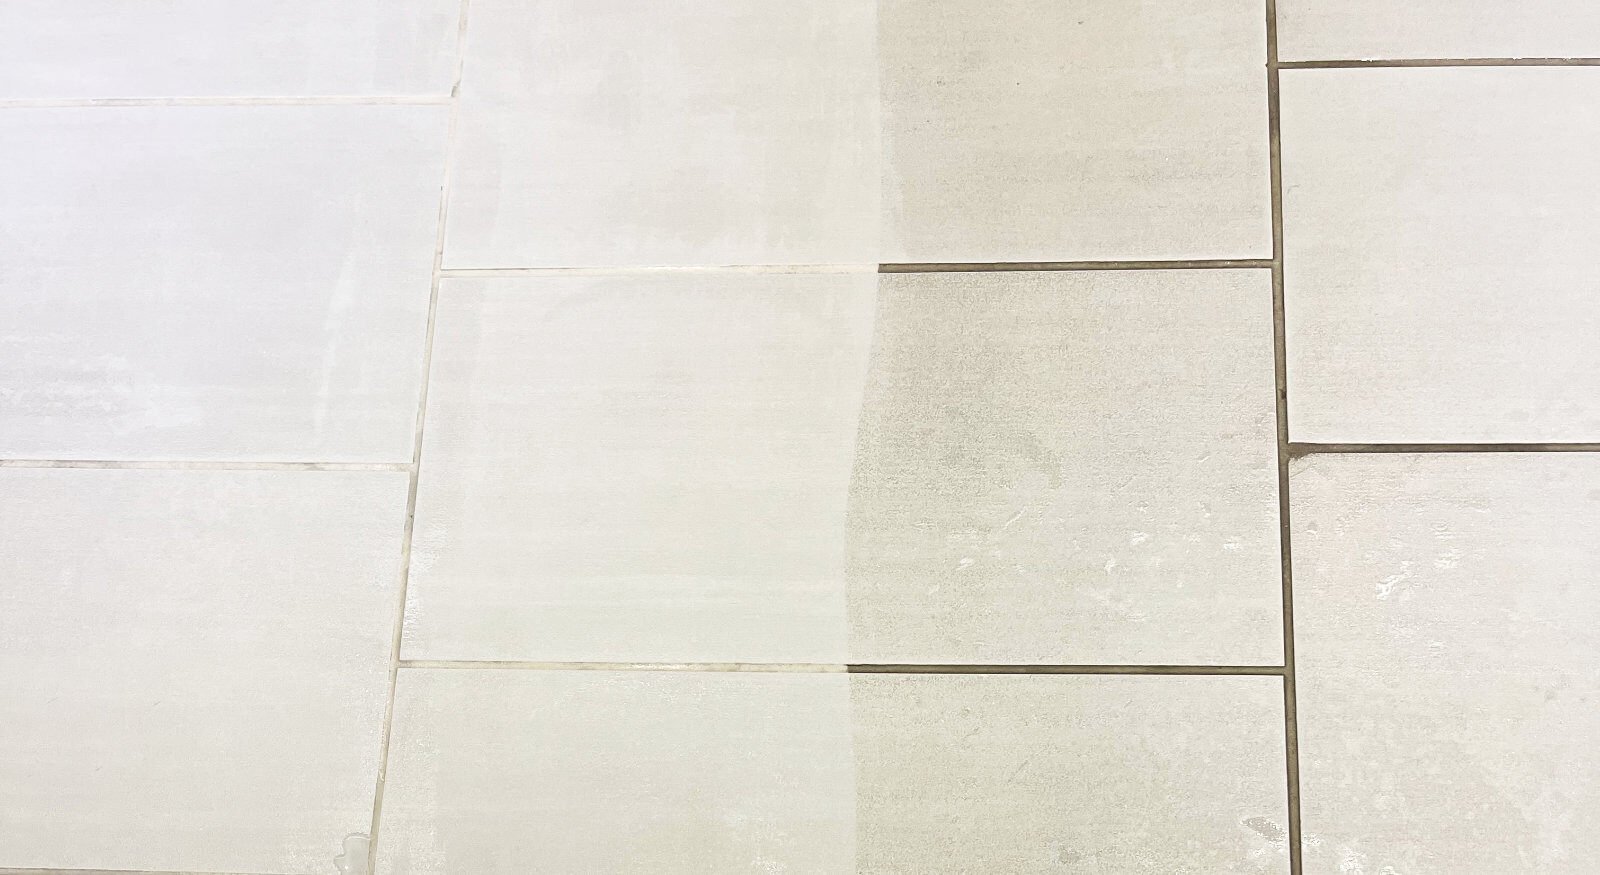
- Over time, layers of grime and minerals from water accumulate, causing the grout to appear permanently discolored.
So if your grout looks dull despite regular cleaning, it’s not neglect; it’s just the nature of the material. And understanding this is the first step to fixing it.
DIY Tile & Grout Cleaning: What Works & What Doesn't
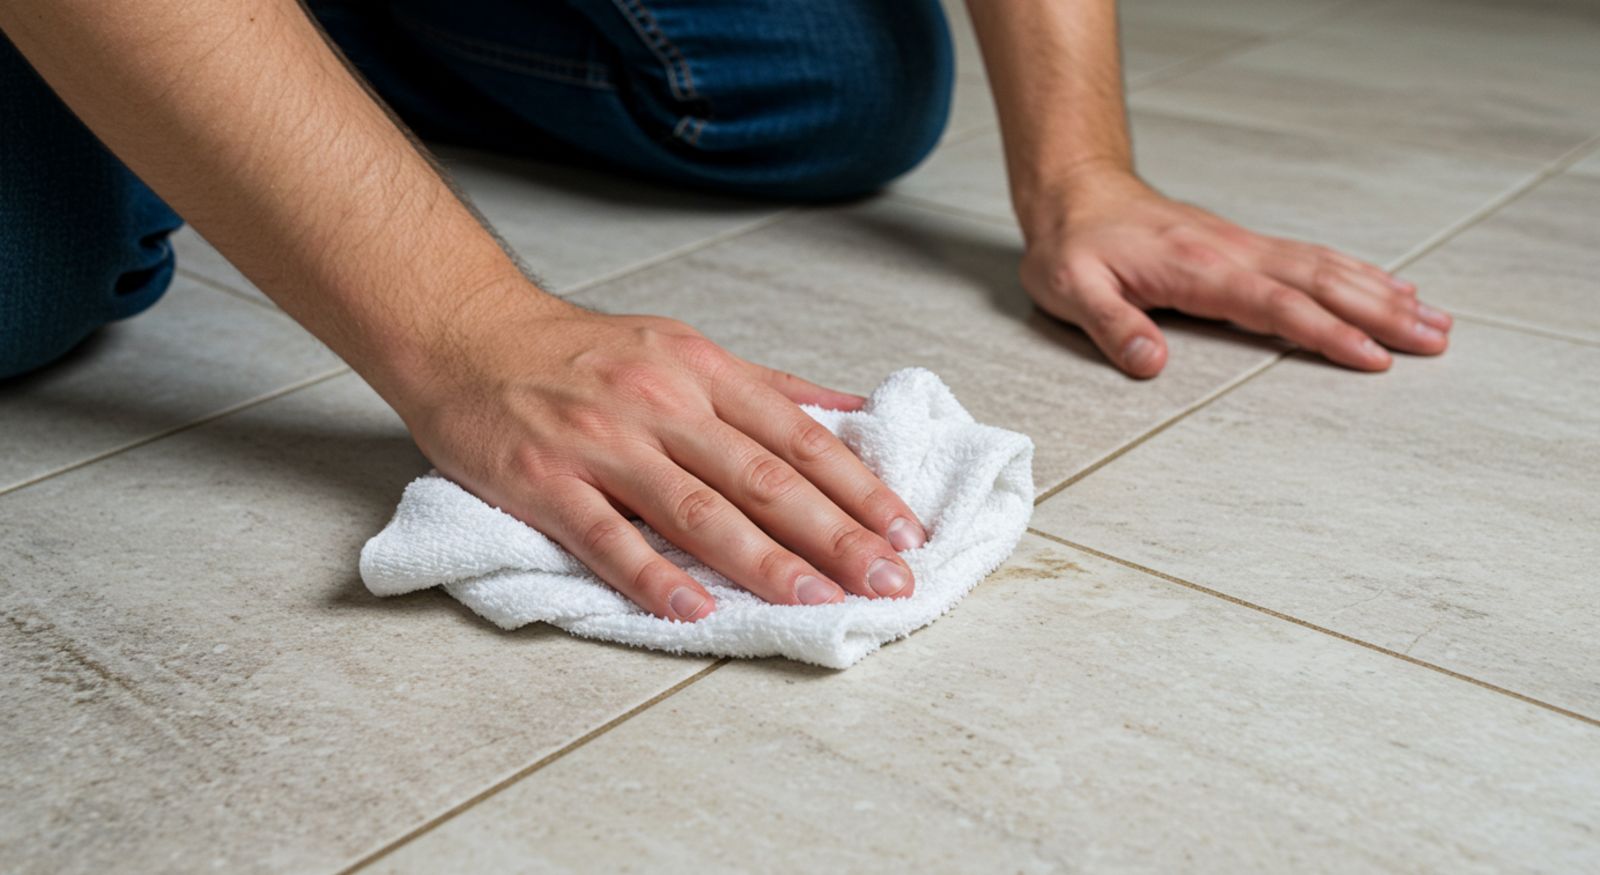
For light to moderate discoloration, you can make a noticeable difference with these DIY methods. However, before we begin, remember to always start by ventilating the room, wearing gloves, and testing cleaners in a small, inconspicuous area.
Alkaline Cleaners (Safe for Regular Use)
For routine cleaning and light stains, stick with alkaline solutions. They cut through grease and grime without damaging grout.
- Baking Soda & Water Paste: Mix baking soda with a small amount of water to form a spreadable paste. Apply directly to grout lines and scrub with a toothbrush or nylon grout brush. Rinse thoroughly with clean water.
- Dish Soap Solution: Combine a few drops of mild, bleach-free dish soap with warm water. Mop the floor or scrub grout lines directly, then rinse.
⚠ Important note: These methods are effective and safe for most grouts. Unlike acidic solutions (like vinegar), these won’t cause the long-term breakdown of unsealed grout. For more information, check out this article by the Tile Council of North America.
Bleach-Free Commercial Grout Cleaners (For Tougher Stains)
If household remedies don’t cut it, there are many grout cleaners formulated specifically to lift stains without chlorine bleach. Look for labels that mention “bleach-free,” “pH-neutral,” or “safe for grout and tile.”
- Apply the cleaner generously to grout lines.
- Let dwell for 5–15 minutes to loosen embedded soil.
- Scrub lightly with a soft brush.
- Rinse thoroughly to remove all residue from the cleaner.
These cleaners are stronger than soap solutions but still safe for grout when used as directed.
What You Should Avoid on Your Grout
When faced with stubborn stains, it’s tempting to reach for the strongest chemicals in your cabinet. But some cleaners do more harm than good.
- Chlorine bleach: Marblelife, a provider of residential stone restoration services in North America and worldwide, warns that applying chlorine bleach to the grouts can weaken them over time. Prolonged use can erode grout, strip away sealers, and even discolor tiles.
- Acid-based cleaners: Products with high acidity (like muriatic acid or undiluted vinegar) can etch grout and dull tile finishes.
- Abrasive tools: Steel wool or harsh scrub pads can scratch tile surfaces.
The Tile Council of North America recommends using pH-neutral or mildly alkaline cleaners specifically designed for tile and grout. These are safe, effective, and won’t shorten the life of your floors.
When Is It Time to Call a Professional?
DIY methods can be effective, but sometimes you may encounter a stubborn stain. Calling a professional isn't giving up; it's choosing a more effective, efficient, and guaranteed solution, especially when you're on a tight holiday timeline.
Consider calling a professional if you find that:
- The stains don’t budge after multiple attempts.
- You have a large area (like an open kitchen or several bathrooms).
- Your grout is light-colored, which shows every blemish.
- You suspect mold, predominantly black or green spots. Mold often requires specialized treatment to be removed safely and effectively.
- You are short on time. Scrubbing floors isn’t practical and can take hours.

The Professional Advantage
When you hire a professional service like Restore-It, you are getting more than just a cleaning. You are getting a proven process that uses specialized equipment and expertise for a deeper, longer-lasting clean. Our process typically involves:
- Pre-Inspection: We identify your tile type (ceramic, porcelain, or natural stone) and assess the condition of your grout.
- Safe Cleaning Solutions: We use professional-grade, pH-balanced cleaners tailored explicitly to your floor type.
- High-Pressure Hot Water Extraction: Our truck-mounted equipment blasts embedded dirt and grime from deep within grout pores while simultaneously vacuuming it away. This keeps the mess contained and leaves your floors nearly dry.
The result? A deeper, longer-lasting clean than DIY ever provides.

The Secret to Keeping Grout Clean: Sealing
Once your professional cleaning is done, it’s time you consider sealing your grout. Grout sealer is a clear, impregnating liquid that penetrates the grout, creating a protective barrier. Once sealed, spills, dirt, and oils stay on the surface instead of soaking in, making cleanup as easy as wiping with a damp cloth.
- Best time to seal: Right after professional cleaning.
- How long it lasts: According to This Old House, an American home improvement media brand, most sealers last 12–18 months, depending on traffic and product quality. Regular reapplication keeps protection strong.
To keep your grout looking beautiful year-round, sealing is the most important step.

Your Sparkling Clean Home Awaits
You now have a clear path to achieving beautifully clean tile and grout for the holidays. For minor discoloration, a bit of DIY effort can make a real difference. However, for floors that require a thorough restoration, professional cleaning provides a reliable and stress-free solution.
Remember: The goal is to enjoy the season with your loved ones, not to spend it on your hands and knees scrubbing floors. If you've decided your time is better spent planning the menu than battling stubborn grout, the team at Restore-It is ready to help. Let us handle the hard work! We will restore your tile and grout to look brand new, so you can focus on what truly matters this holiday season.

Topics:


