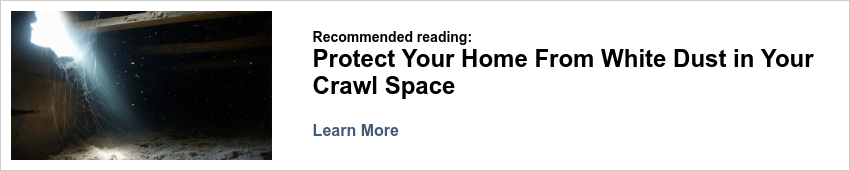
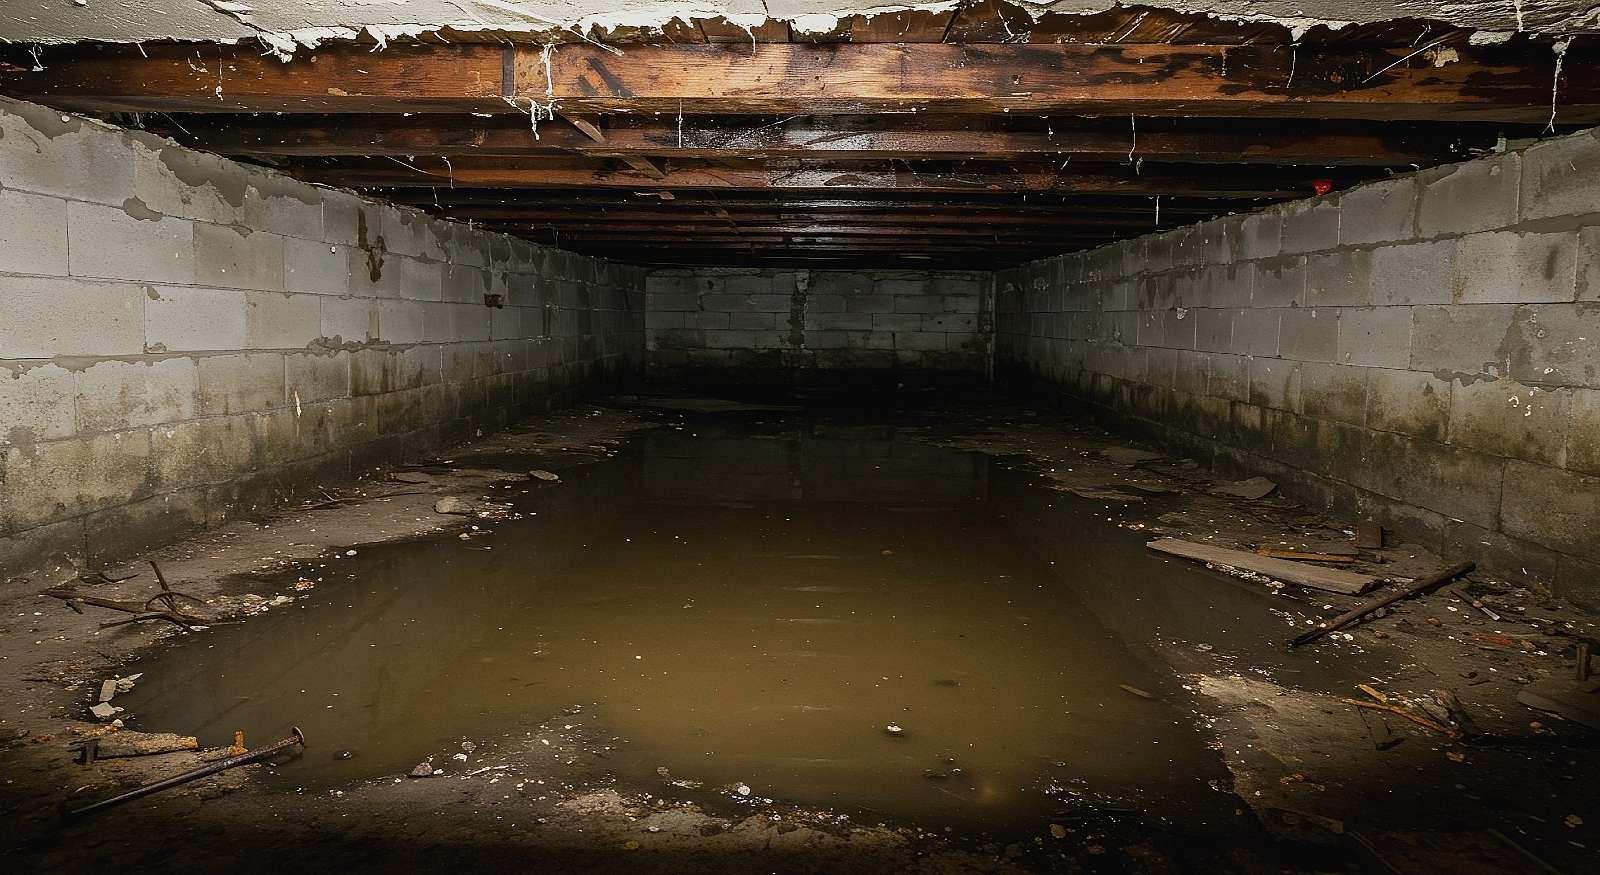
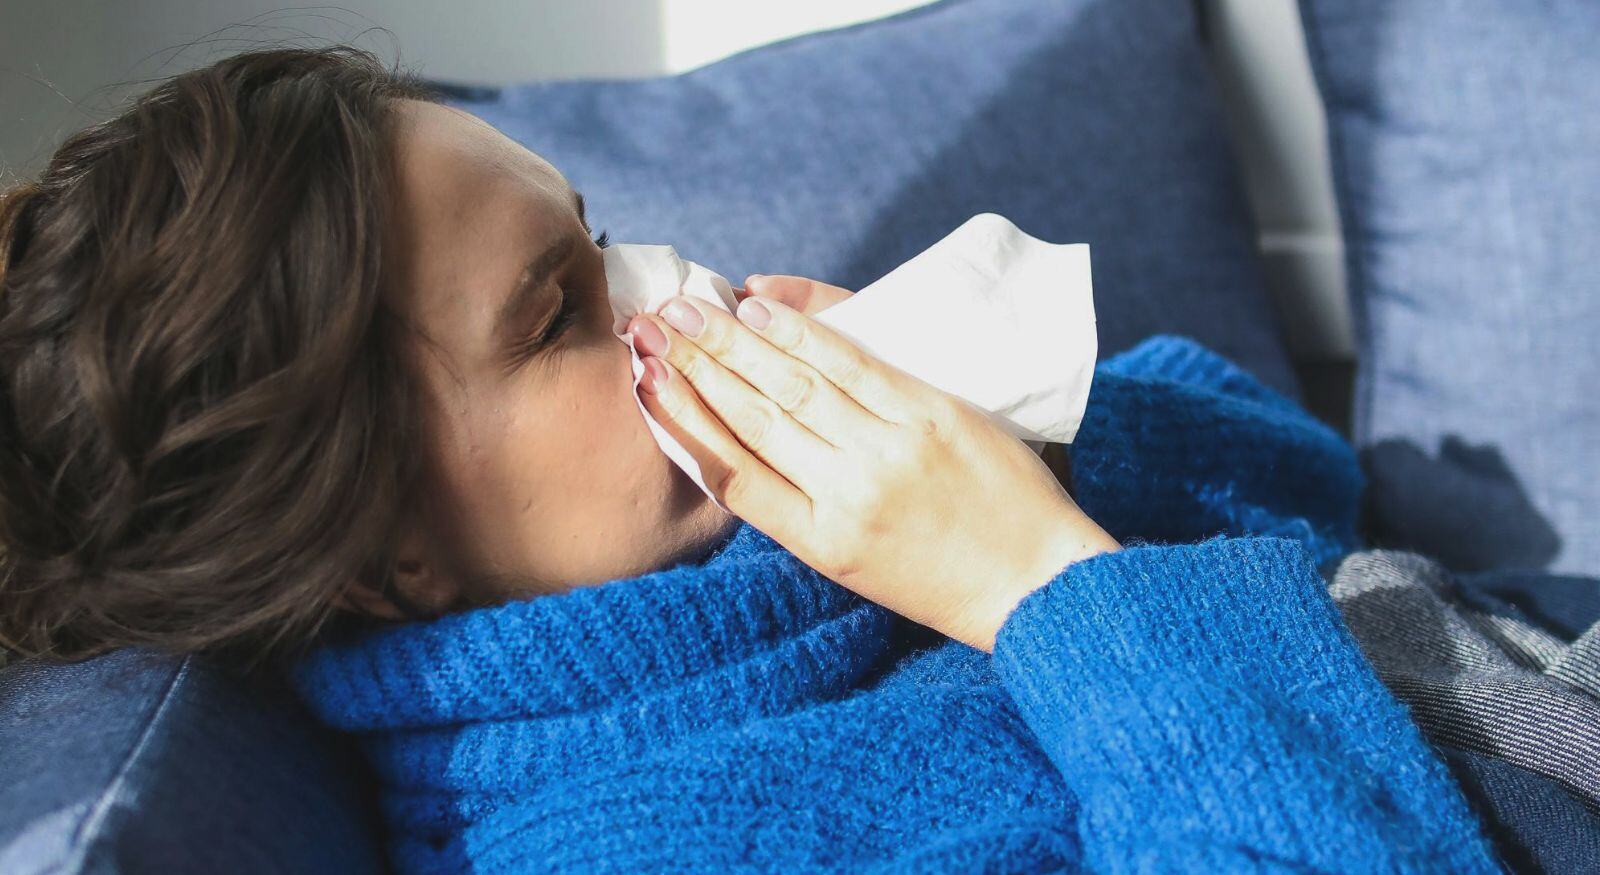
Ah, spring! It's such a lovely time when nature bursts into life all around us. But have you taken a moment to peek into your crawl space and see what's happening beneath your home? The warmer weather can bring in more moisture, which might just transform your crawl space into a little swamp!
No need to worry! We're here to lend a helping hand. With more than ten years of experience supporting our South Arkansas community, we're excited to help you navigate this challenging scenario.
Today, we will discuss everything about crawl space prep, from simple DIY checks to advanced solutions. We are going on a trip to explore how you can ensure your crawl space stays dry and your home stays healthy. So, what are you waiting for? Let's kick those spring blues and prepare your crawl space for the season!
The Characteristics of South Arkansas's Spring
Our springs in our dear South Arkansas are a special kind of humid. Here's what your crawl space is up against. First, sudden downpours saturate our clay-heavy soil, leading to pooling and seepage. Then, that thick, heavy air condenses on cool surfaces, creating a perfect environment for mold. Finally, our quick shift from cooler nights to hot days creates rapid condensation.
Your Spring Crawl Space Checklist
Before the real downpours begin, give your crawl space a quick once-over.
Moisture Indicators
☐ Standing water or puddles.
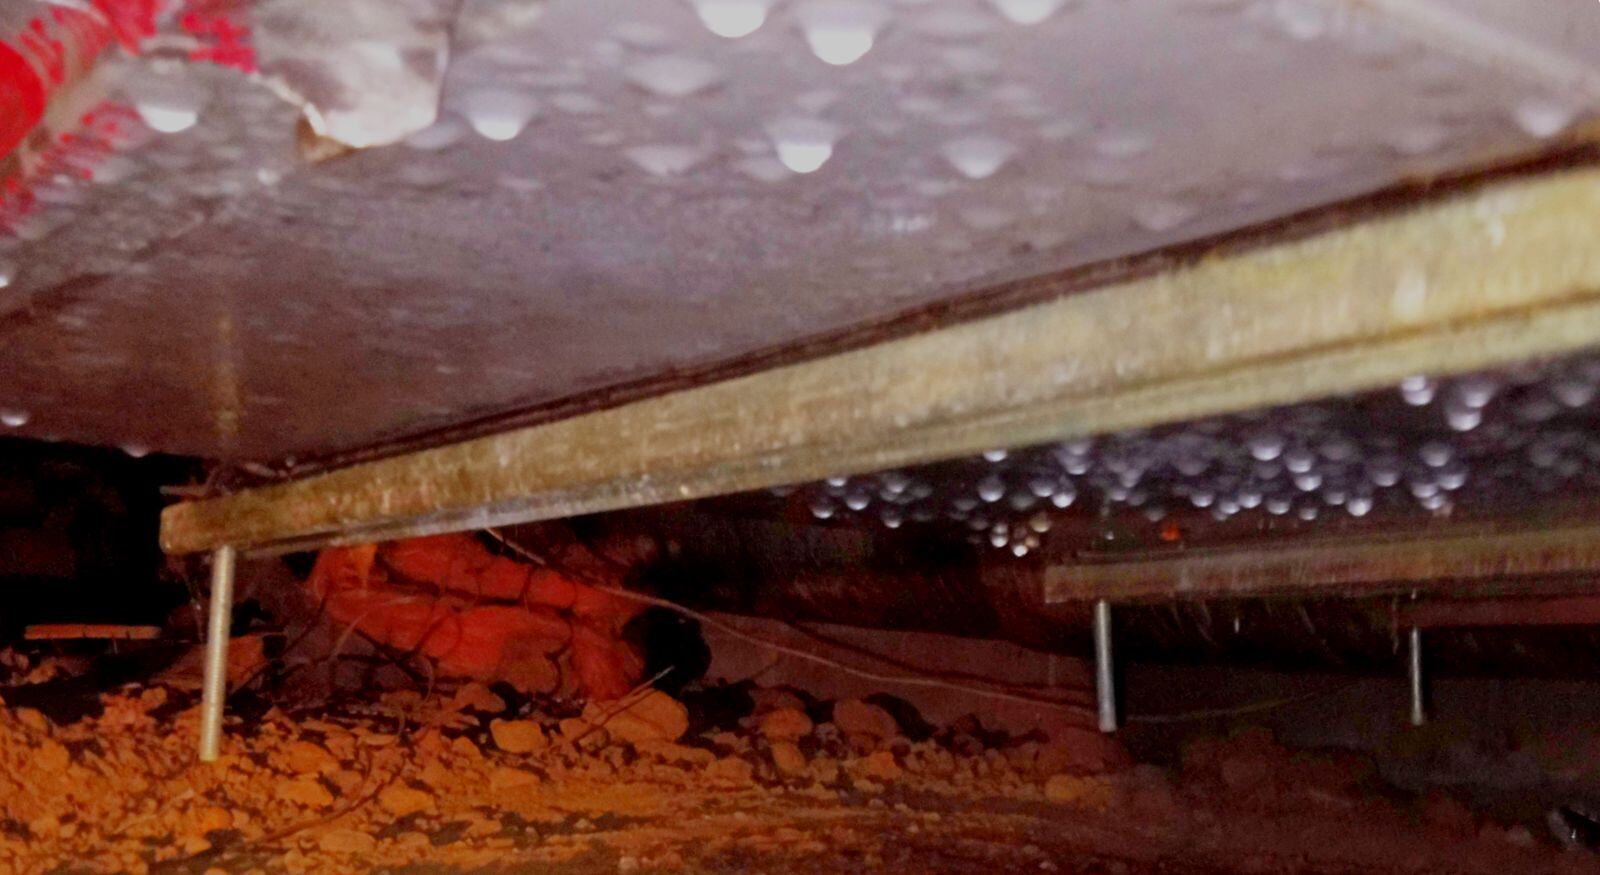
☐ Damp spots on walls, floors, or insulation.
☐ Water stains or tidemarks on foundation walls.
☐ Condensation on pipes or other surfaces.
☐ Musty or moldy odors.
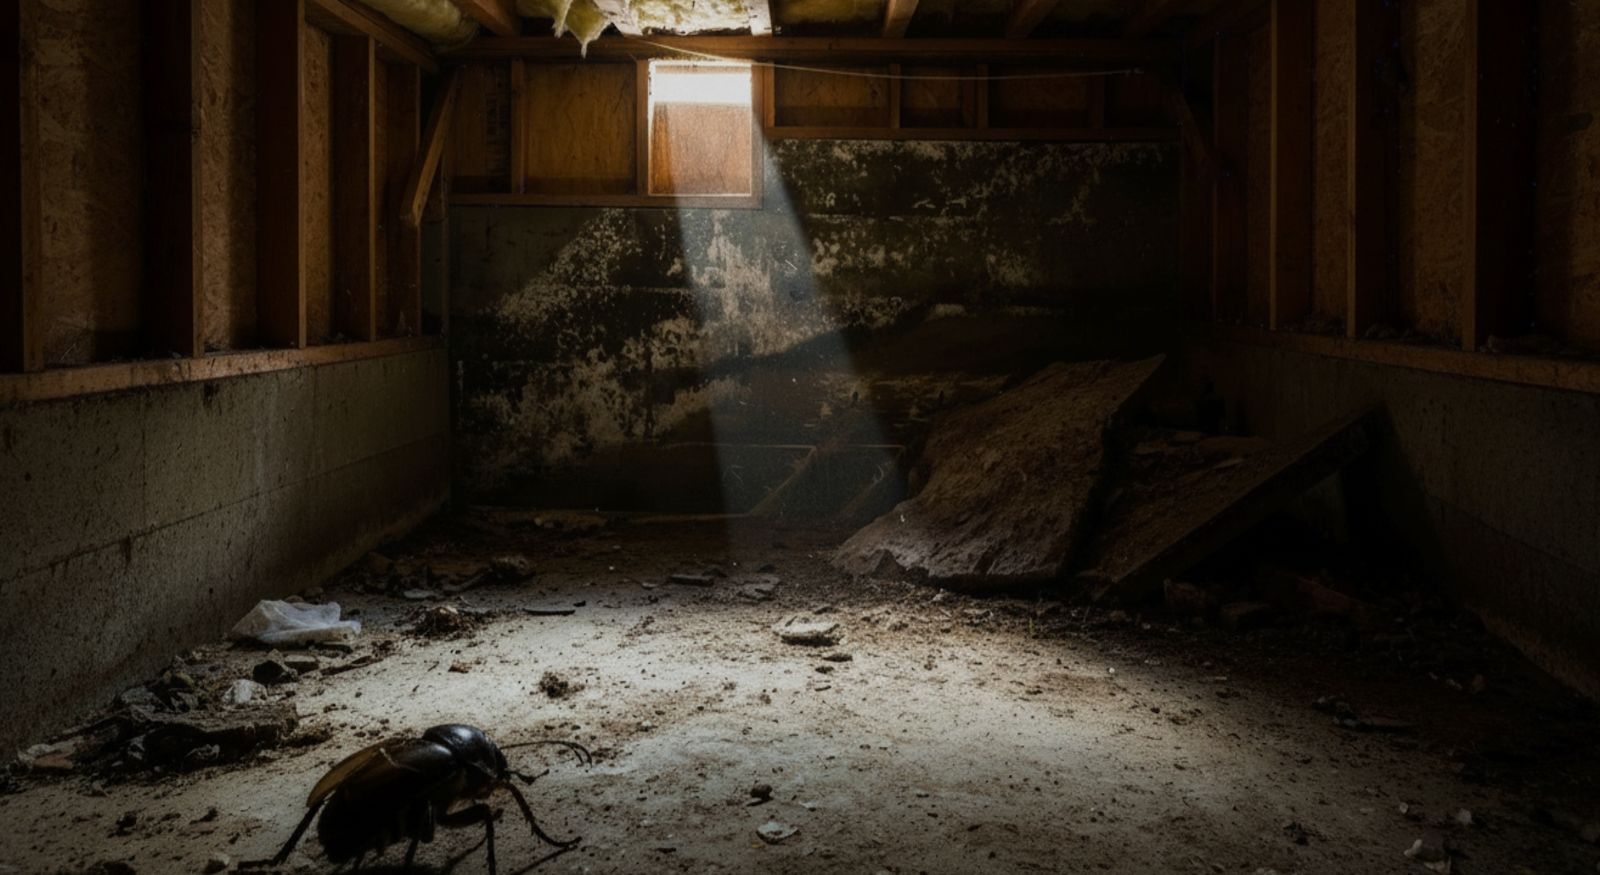
Mold and Wood Damage
☐ Visible mold growth on any surface (walls, floors, joists, insulation).
☐ Soft, spongy, or decaying wood (joists, beams, subfloor).
☐ White, cottony growth on wood or other materials.
Ventilation and Airflow
☐ Blocked or obstructed vents (debris, vegetation).
☐ Proper functioning of any installed fans or dehumidifiers.
☐ Signs of air leakage around pipes, wires, or foundation penetrations.
Plumbing and Foundation
☐ Leaky pipes or dripping faucets.
☐ Condensation on plumbing pipes.
☐ Cracks or gaps in foundation walls.
☐ Signs of water intrusion through foundation cracks.
Drainage and Grading
☐ Proper slope of ground away from the foundation.
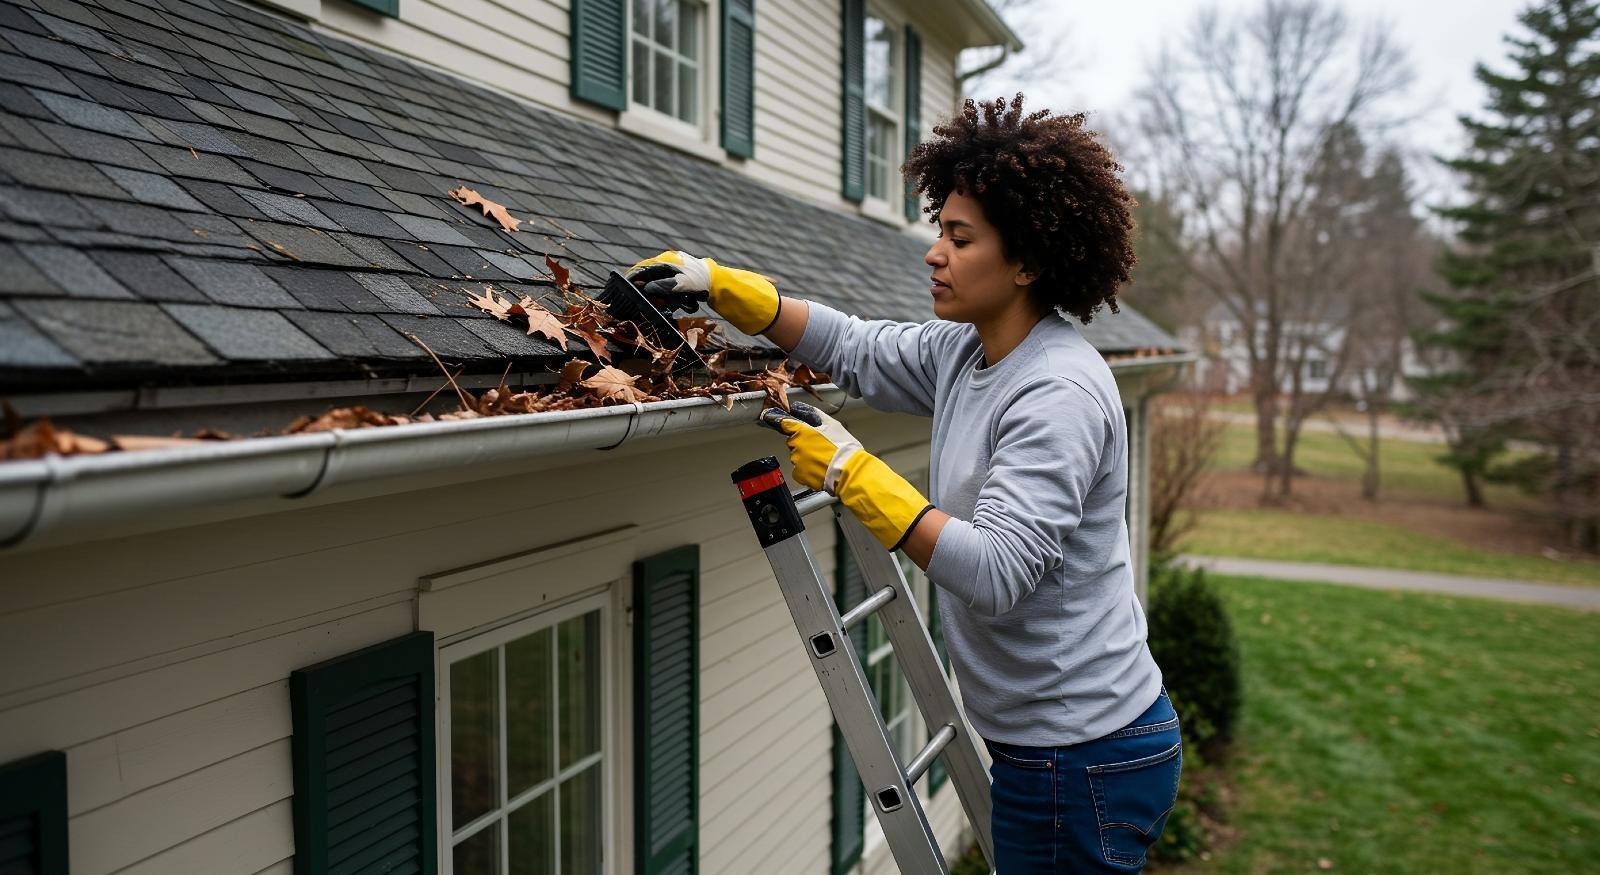
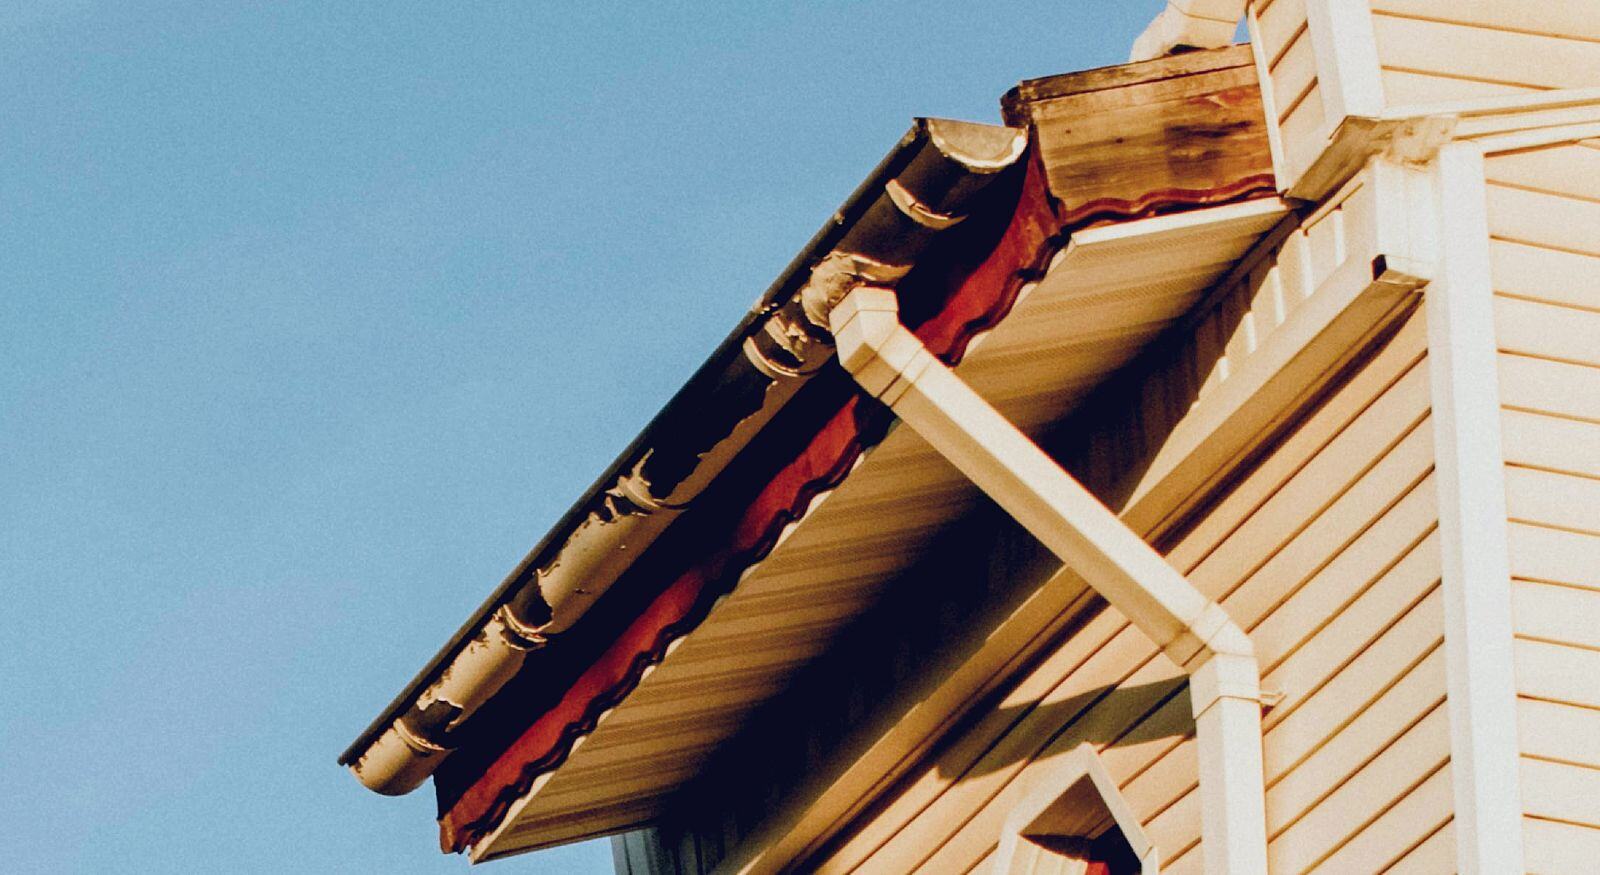
☐ Clean and clear gutters and downspouts.
☐ Downspouts extended at least 5-10 feet from the foundation.
☐ Functioning French drains or surface drains.
☐ Functioning sump pump (if installed).
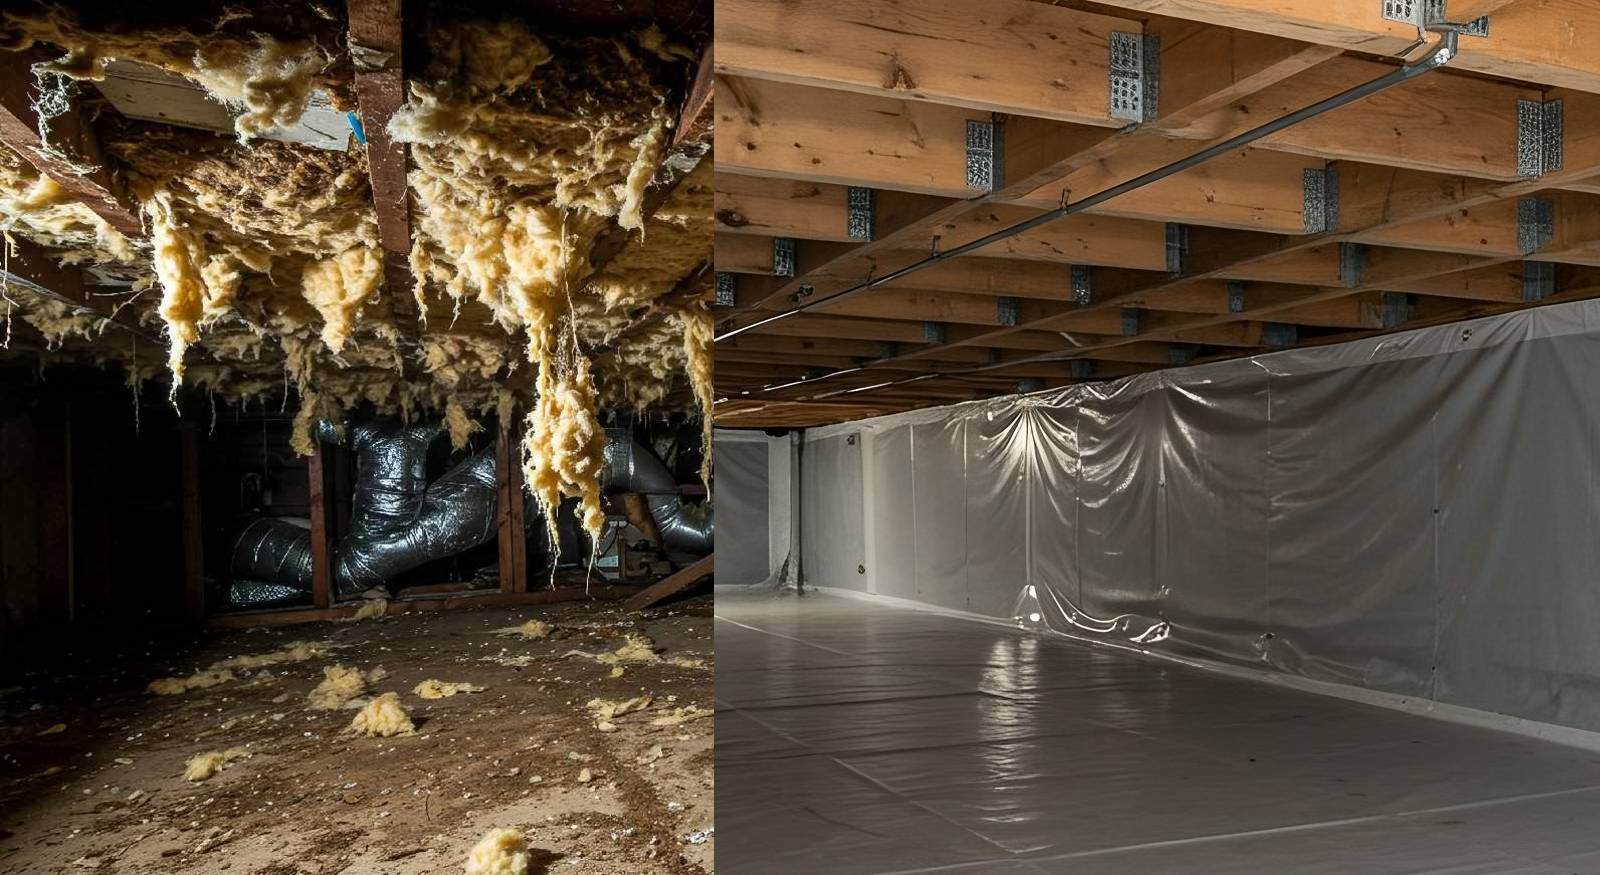
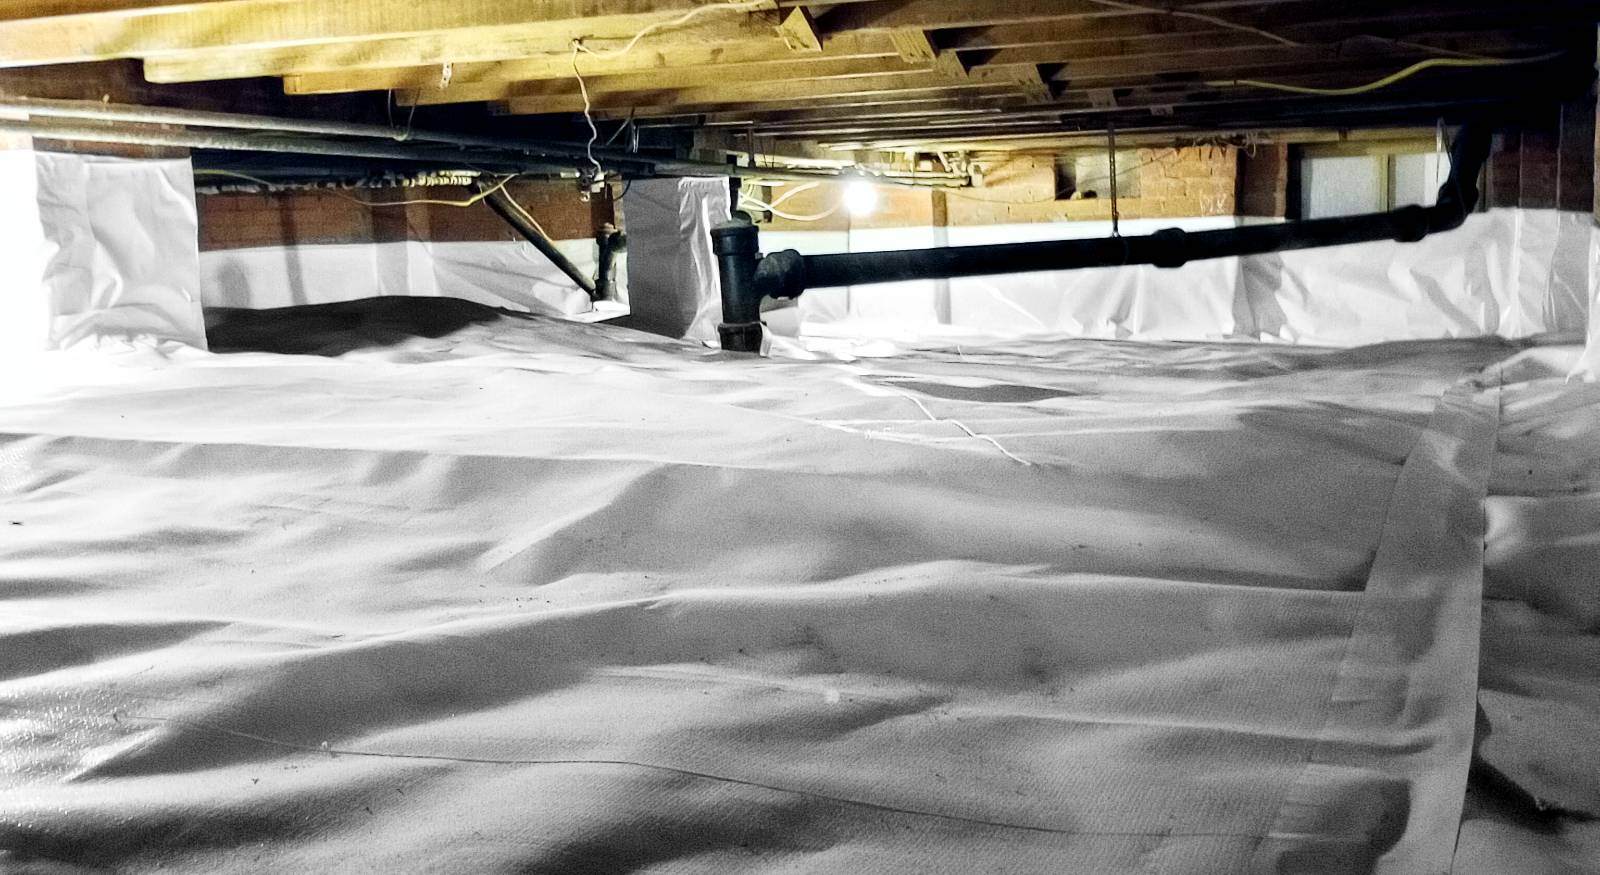
Insulation and Vapor Barrier
☐ Damp or sagging insulation.
☐ Mold growth on insulation.
☐ Tears or damage to vapor barrier.
☐ Proper coverage of soil by vapor barrier.
Pest Infestation
☐ Signs of rodent droppings or nesting.
☐ Evidence of termite activity (mud tubes, damaged wood).
☐ Presence of insects or other pests.
If you find any of the above issues, don't let the problem fester! Prompt action can be the difference between spending some money now and much, much more later on. Act now and save money in the long run!
Solving Existing Problems
Found some issues? Here is what to do.
- Water Evacuation: Pump out any standing water.
- Dealing With Leaks: Repair any plumbing leaks immediately.
- Foundation Fixes: Seal cracks and gaps to prevent further water intrusion.
- Mold's Removal: Remove mold using appropriate cleaning solutions.
- Humidity Issues: Install a dehumidifier to control moisture levels.
Another option is to call the professionals for help. You may need a plumber, a pest control specialist, or professional restoration services, depending on what you find. While this option may be more expensive than going the DIY route, it should give you peace of mind knowing an expert is taking care of the issue.

Preventing Future Flooding
Here is how to prevent future crawl space issues:
- Check Your Grading: Ensure the ground slopes away from your foundation.
- Check Your Gutters: Keep gutters and downspouts clean and clear.
- Review Your Downspout: Extend downspouts away from the foundation.
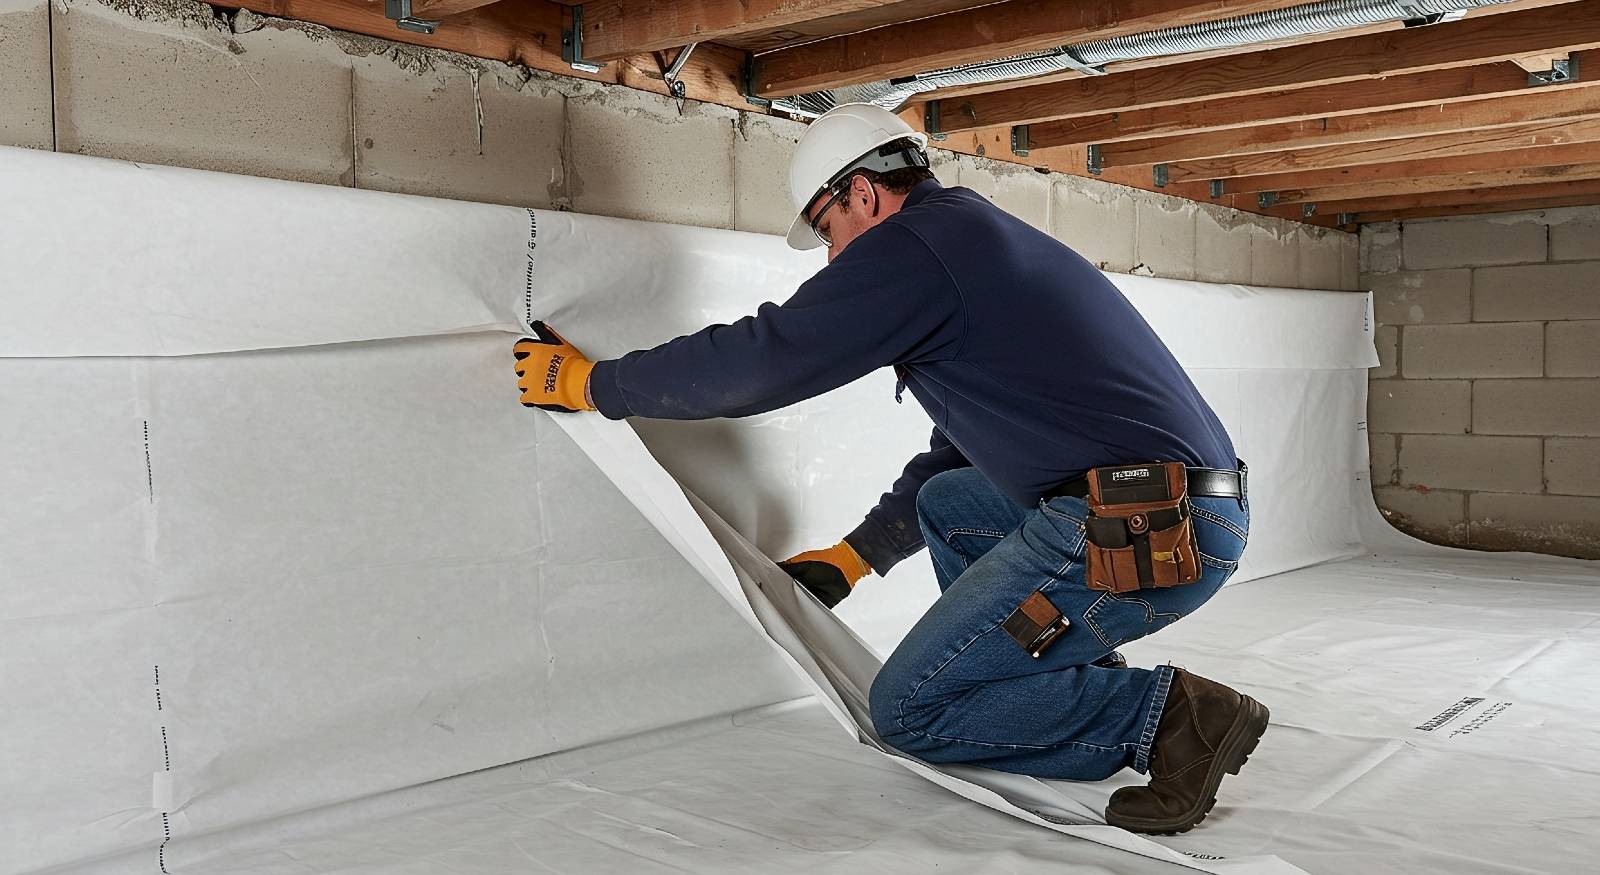
- Install a Vapor Barrier: It will block ground moisture.
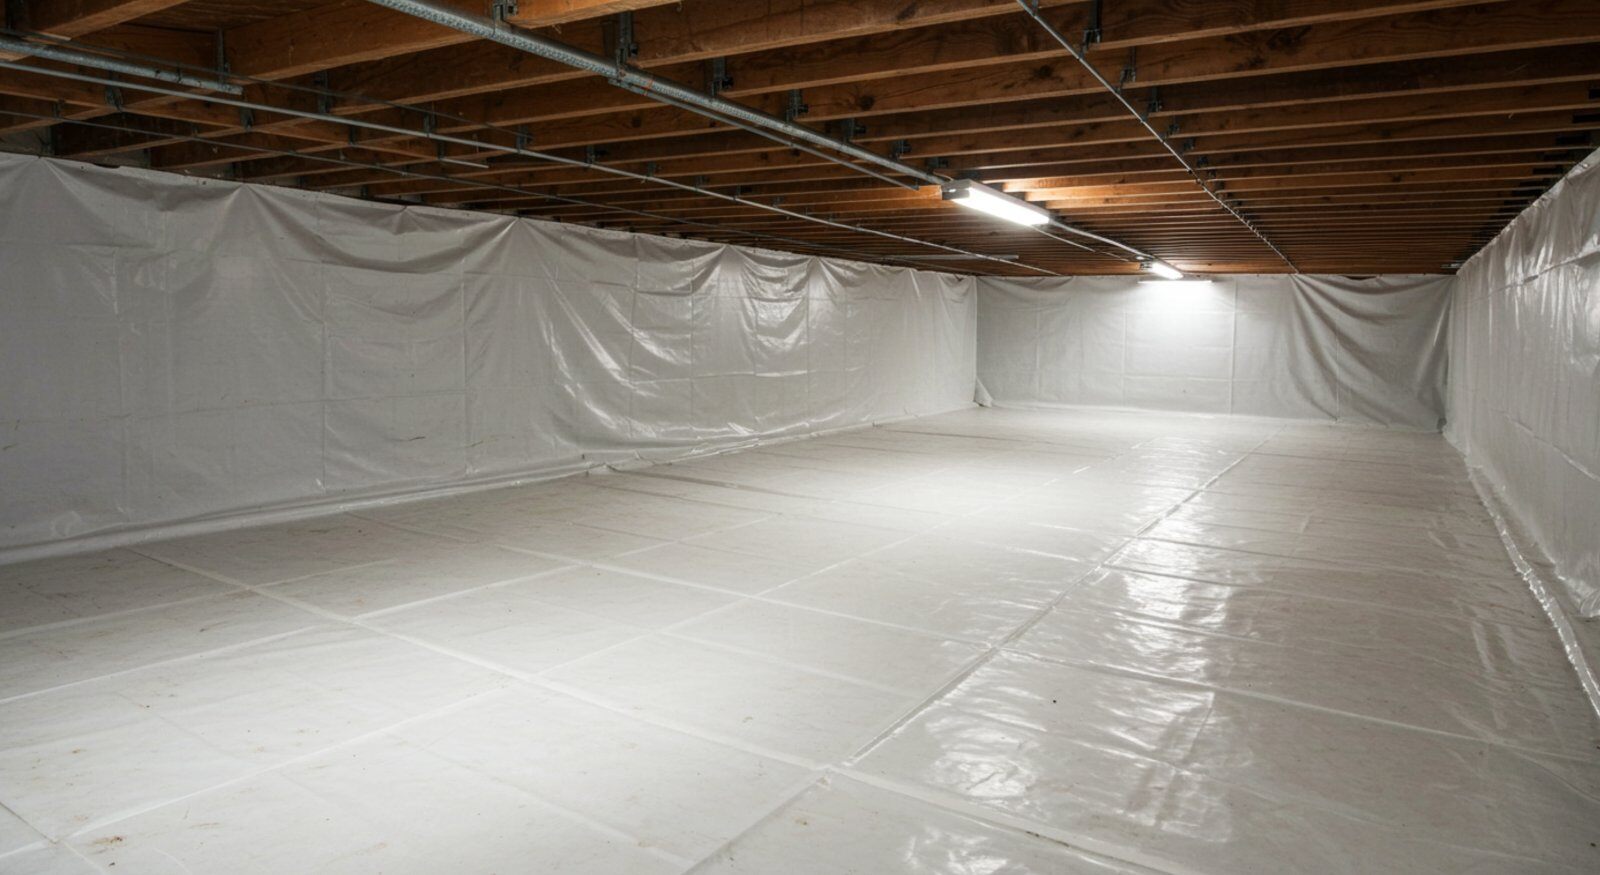
- Consider Encapsulation: Professional crawl space encapsulation will bring the ultimate protection to your home.
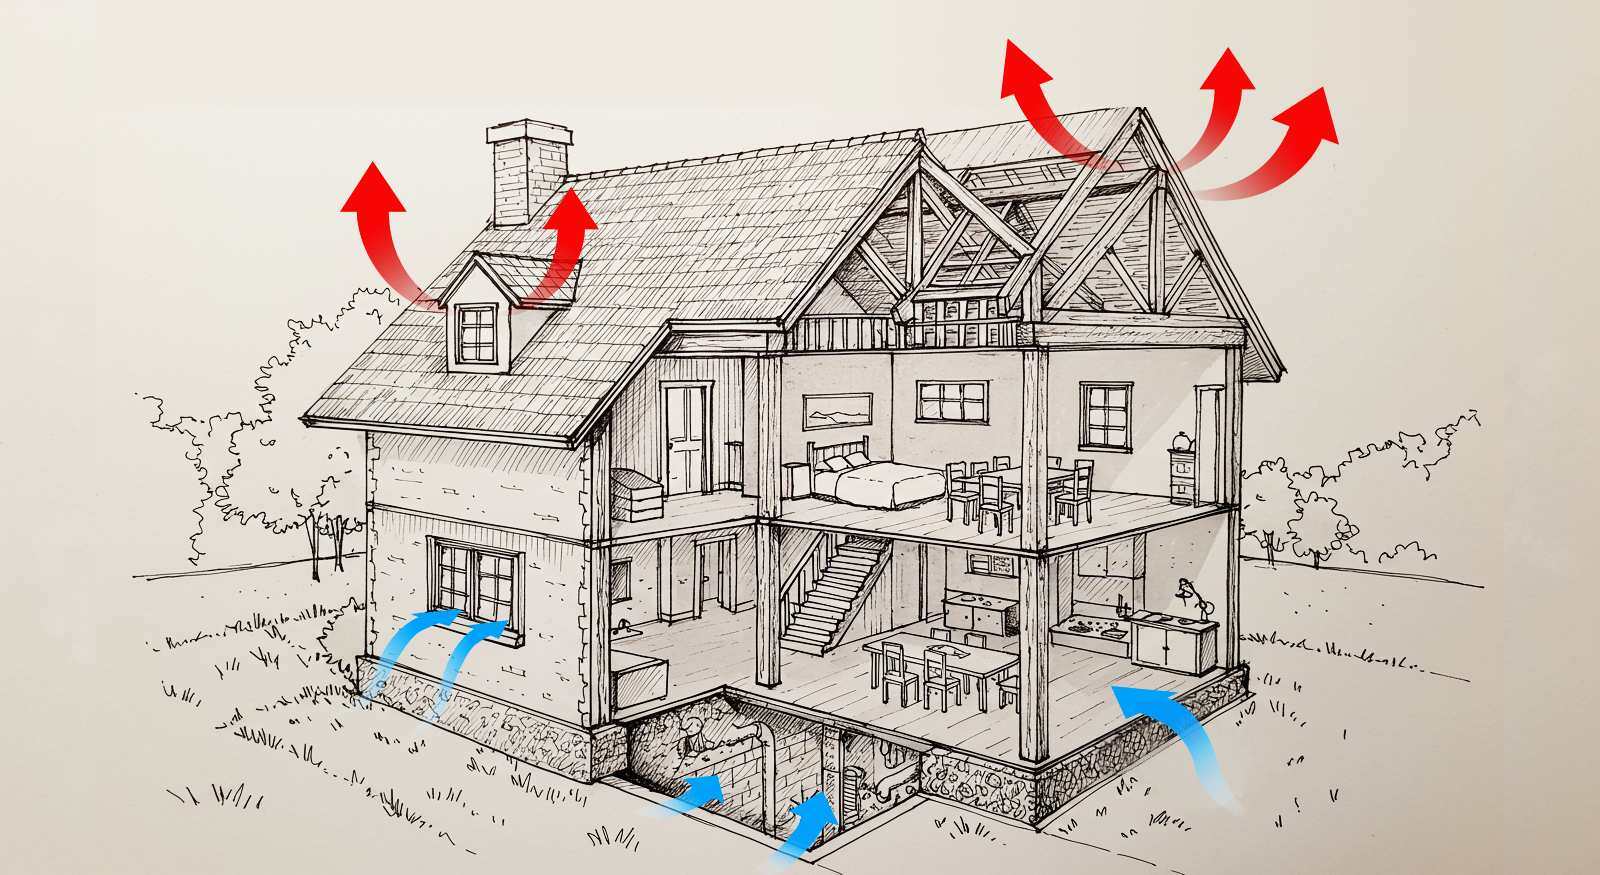
Crawl Space Ventilation: What You Must Know
Ventilation is very important for your crawl space, but there are different ways of handling it. Here is what you need to know:
- Traditional Vents: Your standard vents (the ones that come with your crawl space) can draw humid air into your home, causing condensation.
- Controlled Ventilation: Dehumidifiers and exhaust fans offer more control.
- Complete Seal: Encapsulation creates a sealed environment and works best when combined with a dehumidifier.
Insulation in Your Crawl Space? Learn More Here!
A big myth surrounding crawl spaces is that insulation is always a bad idea. The reality is far from that, but there are some considerations to pull it off:
- Use rigid foam boards specific for crawl space insulation.
- Ensure proper installation to prevent moisture traps.
- Avoid fiberglass batts; they soak up moisture.
- Insulate the walls, not the ceiling.

Consider Draining in Your Crawl Space
If your area is particularly humid or constantly affected by spring rain runoff, some good drainage may be your crawl space's hero. Consider this:
- French Drains: They can redirect water away from your foundations.
- Sump Pump: Combined with french drains, it can remove standing water.
- Surface Drain: These drains can manage rainwater runoff.
The Ultimate Defense: Crawl Space Encapsulation
So, we have seen many tips and tricks to keep humidity at bay in your crawl space during this spring season. However, if you are looking for a long-term solution, consider encapsulation. This is still the best pound-per-pound defense against mold and moisture compared to other alternatives. Here is what it offers:
- Moisture Control: Encapsulation creates a sealed barrier, preventing humid outside air and ground moisture from entering your crawl space. Combined with a dehumidifier, it keeps moisture in check.
- Mold Prevention: By eliminating moisture, encapsulation creates an inhospitable environment for mold.
- Energy Efficiency Boost: Encapsulation helps regulate crawl space temperature, reducing energy loss and lowering utility bills.
- Pest Deterrent: A sealed crawl space deters pests like rodents and insects, which thrive in damp, dark environments.
- Improved Indoor Air Quality: Encapsulation contributes to a healthier indoor environment by preventing mold growth and moisture buildup.
- Structural Safeguard: Encapsulation protects your home's foundation and framing from moisture damage, preventing wood rot and structural problems.
- Increased Home Value: A properly encapsulated crawl space can increase your home's value and appeal to potential buyers.

With encapsulation, you can rest assured that your crawl space is protected from the challenges of our climate, providing peace of mind for years to come.
Leave Your Worries And Take Action Today!
Spring's arrival doesn't have to mean a damp, moldy crawl space. With a bit of preparation and the right solutions, you can keep your home dry and healthy. If you're facing crawl space challenges, remember that Restore-It is here to help. We're experts in crawl space encapsulation and will work with you to create a dry, healthy environment for your home.

Topics:


