Remove Mold From Walls with this DIY Guide
July 25th, 2025
5 min read
Nothing ruins the appearance of a beautiful home quite like a mold patch clinging to the wall. If this is your case, you will probably feel worried, and with good reason, mold can bring a lot of problems. But don't throw the towel yet—there are some things you can do!
As the experts in South Arkansas on professional mold remediation, we have seen what happens when mold gets out of control. While expert help is recommended for large mold patches, you can treat smaller patches yourself.
Let's learn how to remediate mold on your walls. We will start by teaching you more about mold in general, then explore how to identify it, and then go over safe cleaning methods. Finally, we will look at the actions you can take to prevent future mold reoccurrence. So, let's get going so you can enjoy a fresh, clean home!
Understanding Mold and Why It Grows in Your Walls
According to the United States Environmental Protection Agency (EPA), mold is a microscopic organism that can be found everywhere and propagates in the presence of food (organic matter) and moisture. While this makes mold a great natural recycler, it can lead to many problems when it grows indoors.
Many building materials, including drywall and wallpaper, are made of organic matter. This, coupled with moisture issues and a lack of ventilation, can turn your walls into an all-you-can-eat buffet for mold. Plus, these materials are porous, meaning ample space for the mold to grow its "roots."
How to Identify Mold Growth
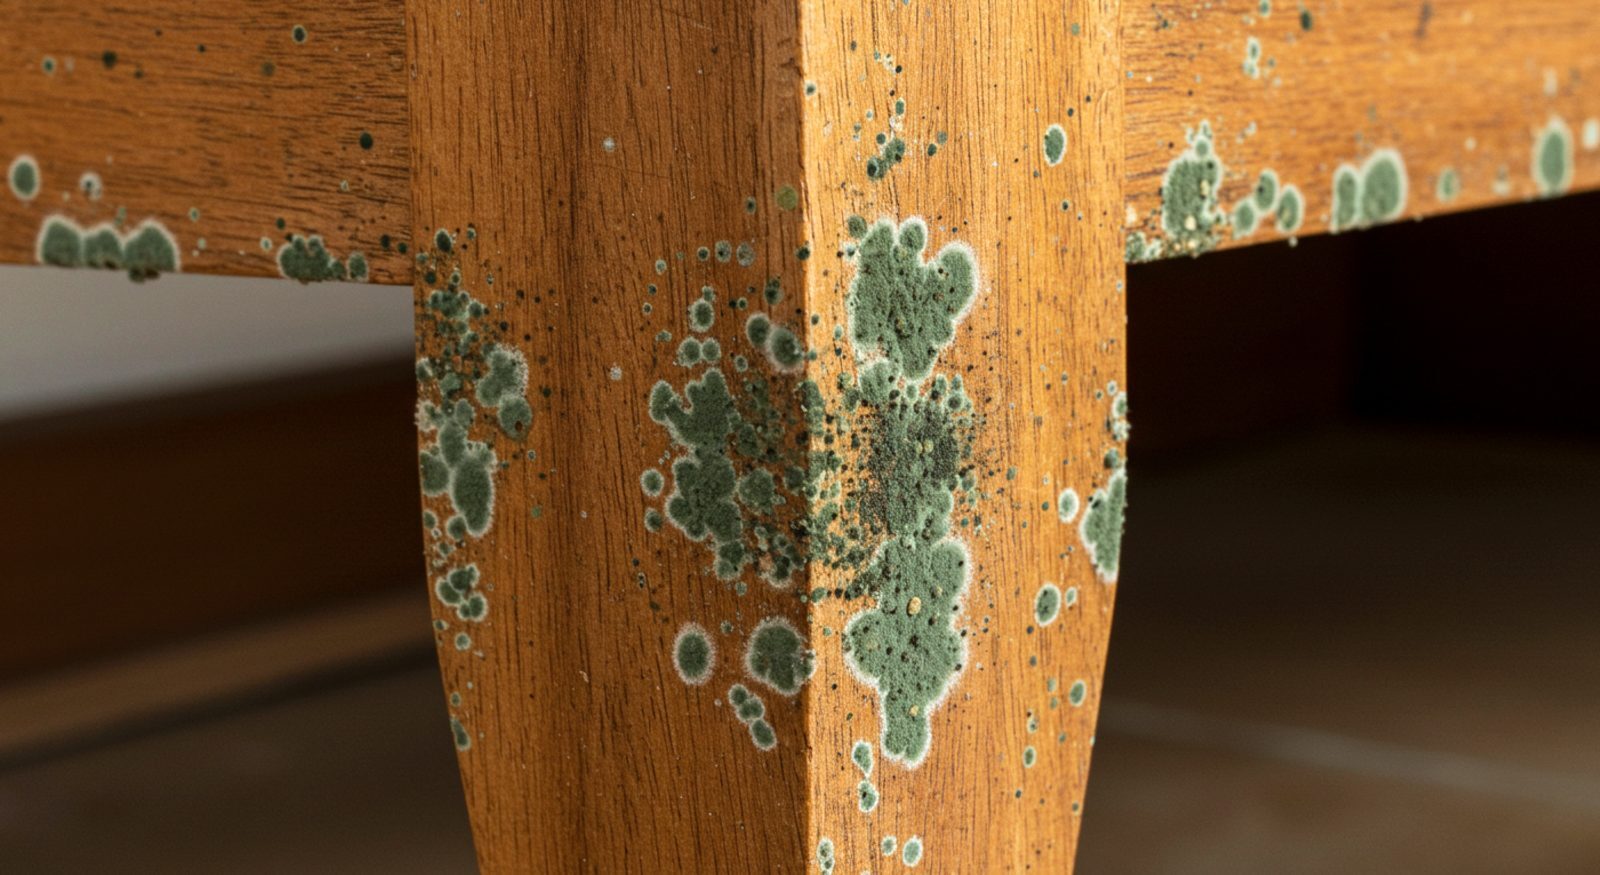
Knowing the enemy is half the battle, as they say. And this is especially true in the fight against mold. However, mold can take many shapes and be easily confused with other things. Is it just dirt or maybe some stains? Here is how to tell if those ugly patches are mold or not:
- Mold's Appearance: Mold can look fuzzy, slimy, or powdery. It can be black, green, white, or other colors.
- Musty Smell: A distinct musty or earthy odor is a strong indicator of mold.
- Growth Pattern: Mold often spreads in irregular patterns.
Protect Yourself Before You Start
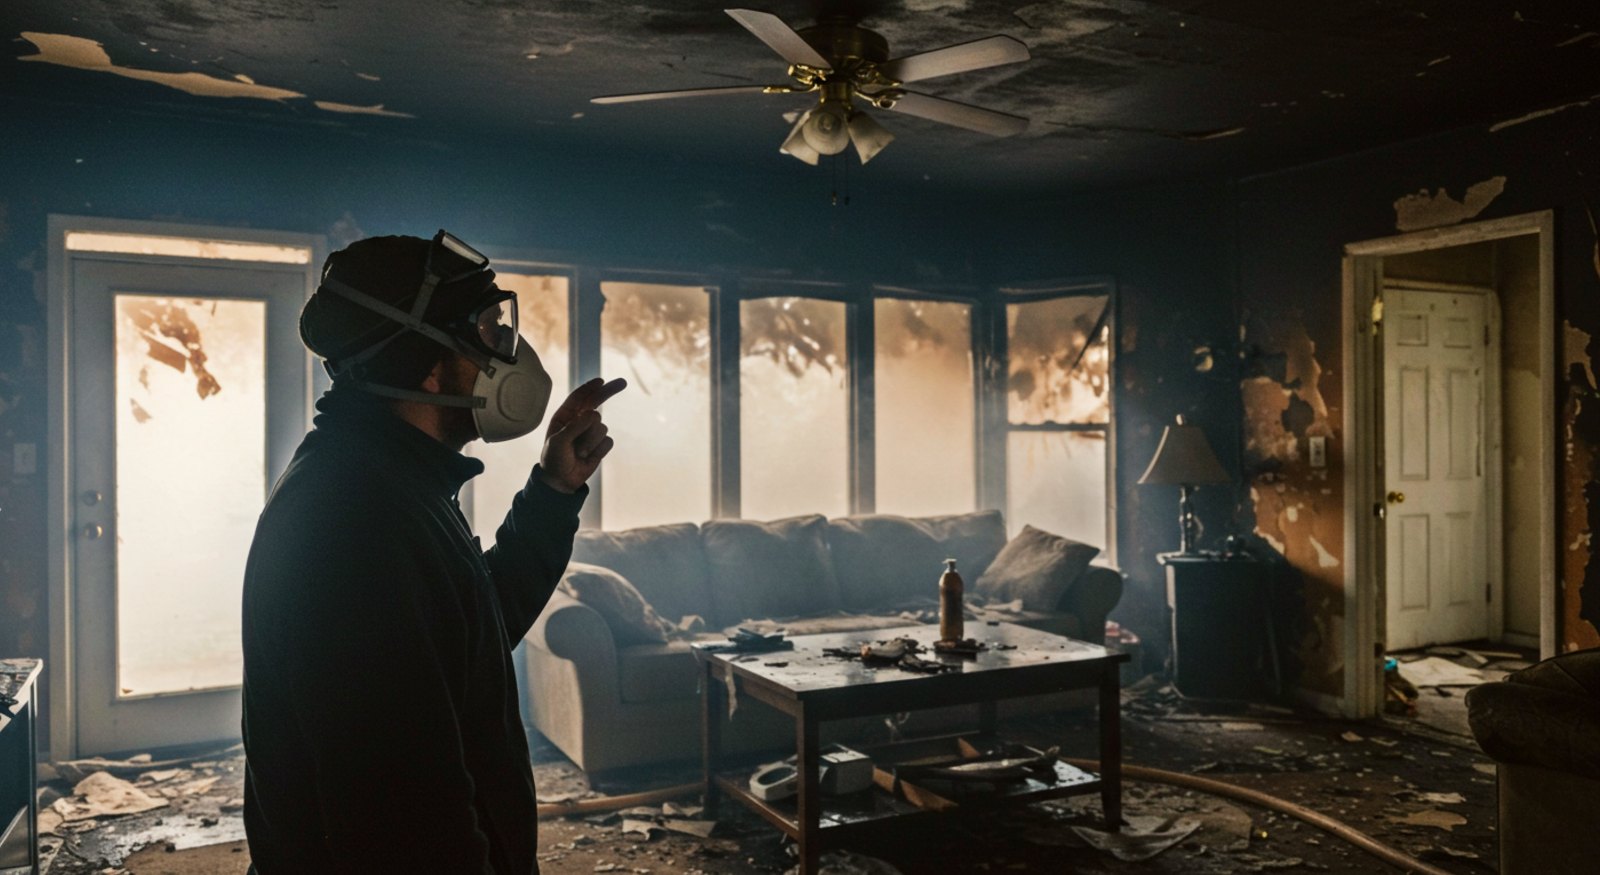
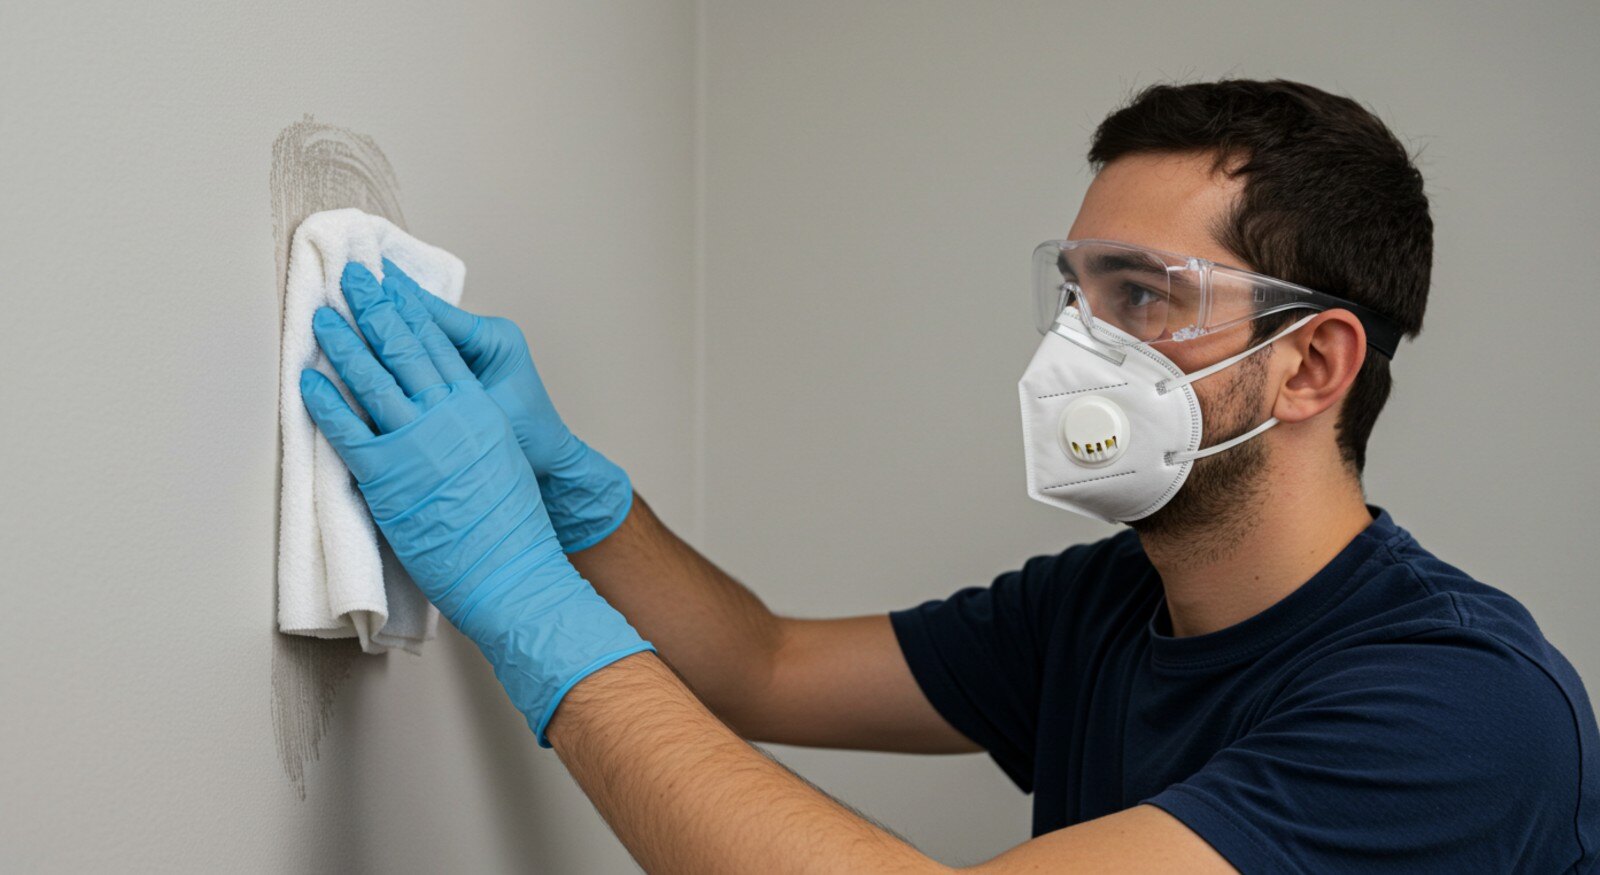
The thing about mold is that if you are not careful and take the appropriate precautions, you can expose yourself and your place to mold spores, aggravating the problem. To prevent this, here are some tips to remove it safely:
- Use an N-95 mask. This will prevent you from breathing mold particles.
- Wear gloves to keep the mold off your skin.
- Goggles or safety glasses are a good idea to keep spores out of your eyes.
- Try not to kick up a bunch of dust or disturb the mold too much while you're cleaning, as this can spread the spores.
- If you have anyone in your house with breathing problems, a weak immune system, or little kids or older folks, it's best if they stay out of the room while you're cleaning.
Avoid these Mistakes When Cleaning Up Mold
Many homeowners don't follow the recommended guidelines when dealing with mold in their walls, leading to a bigger mess. Here are some common mistakes to avoid:
- Do not try to remove mold larger than 10 square feet (around 3 feet by 3 feet in size). It's best to leave large patches to professionals.
- Do not use bleach before addressing the underlying moisture problem.
- Do not over-wet the wall. This can lead to further damage.
- Do not scrub too hard. This can damage the paint and spread it more.
- Do not forget to wear protective gear.
- Do not mix bleach with ammonia or other cleaning products.
- Do not paint over mold. The mold will grow underneath.
- Do not leave any moisture on the wall.
The Mold Cleanup Materials
It's time to gear up for the battle ahead! To combat mold in your walls, make sure you have the following everyday household items for your cleaning arsenal:
- A bucket
- Distilled white vinegar
- Safety gear
- Soft-bristled brush
- Sponges or clean cloths
- Water
Follow these Steps to Remove Mold from Your Walls
According to the Federal Emergency Management Agency (FEMA), mold can grow in a damp area within 24 to 48 hours. This can lead to health hazards, damaged building materials, and unpleasant smells. With this guide, you too can say goodbye to the mold and hello again to your clean walls:
Step 1. Identify and Fix the Source
Mold indicates high moisture levels, which can be caused by a plumbing leak or other water problems. If you suspect any of these, contact a plumber to fix the underlying issue first.
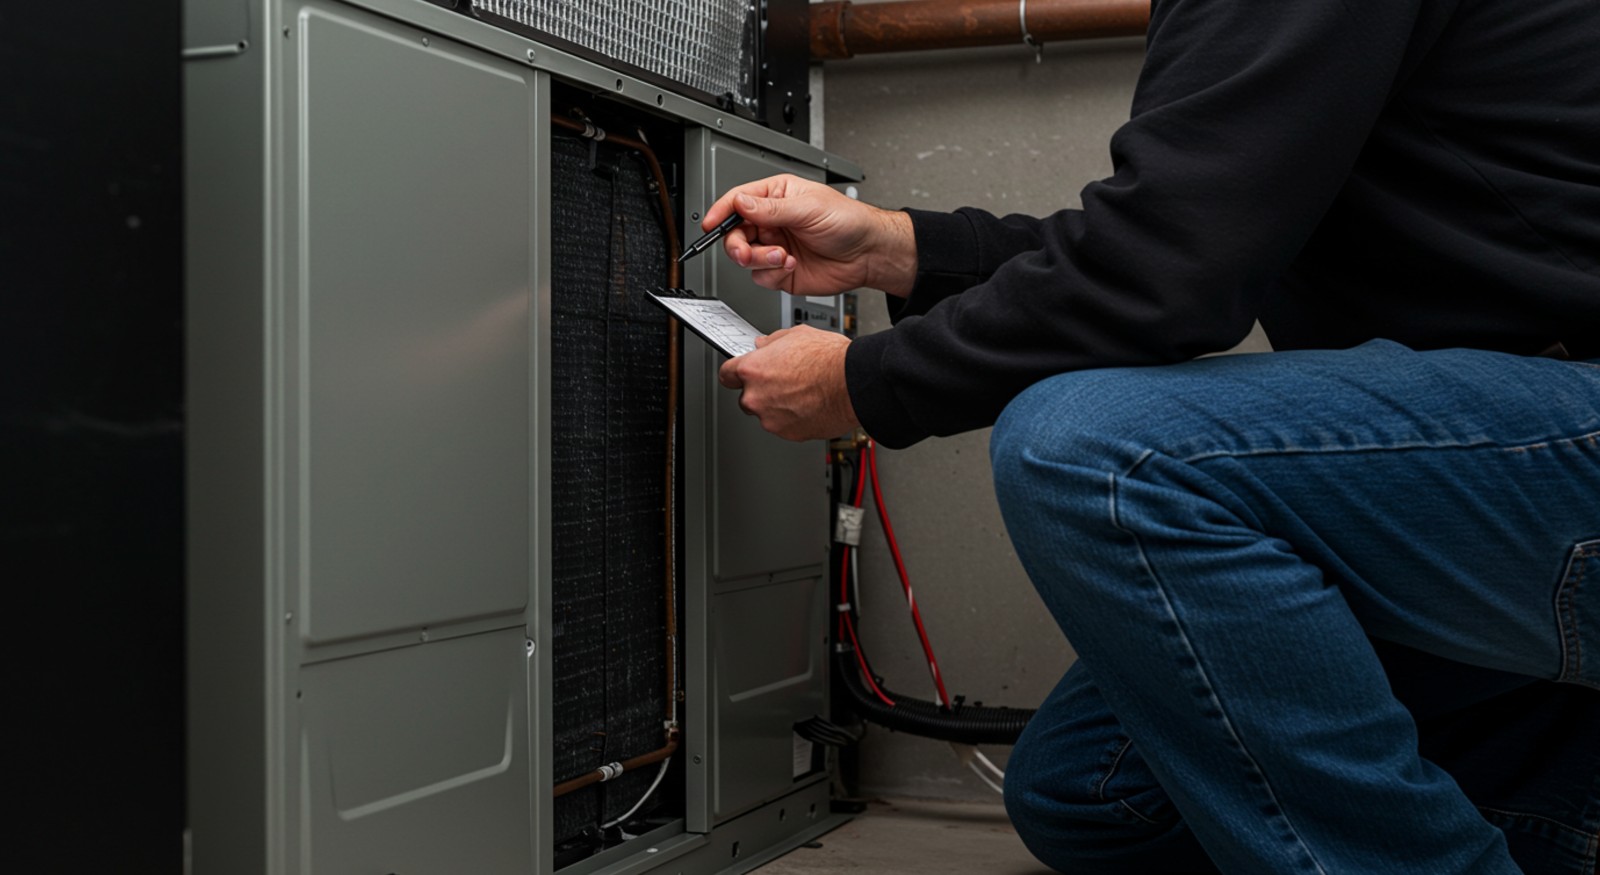
Your heating/ventilation/air conditioning (HVAC) system should also be a point of concern. If you suspect the air ducts are contaminated, consider an inspection before taking further action.
Step 2. Begin the Cleanup
Ok, now it's the time for action. Start by gently scrubbing the mold off the surfaces with a dry brush. This will get rid of the surface layer. However, it's important that you do it using protective equipment. Then, put a cleaning solution in a cloth or a sponge and gently scrub it. Bloat it up with a clean cloth and repeat until there is no mold left. Finally, with a clean cloth or sponge, rinse the wall with clean water and blot it up again.
Step 3. Dry the Area
Ventilate the area with fans or dehumidifiers to accelerate the drying process. Depending on the weather, consider opening the windows to let air circulate.
Step 4. Clean Up After Removal
Wait, you are not done yet! As you have treated the mold, the spores have probably gotten everywhere. To prevent them from spreading throughout your home, follow these tips:
- Seal the cloths, sponges, and brushes in a plastic bag or container.
- Throw away the mask.
- Clean the goggles, gloves, and other tools with hot water and soap.
- The brushes can be cleaned by soaking them in a bleach solution for an hour and then rinsing them with water.
- Wash the clothes you used with hot water immediately. Don't wash them with other items.
- Make sure everything is dry before you store it away.
Step 5. Verify the Job is Done
To know whether the mold has been removed effectively, you need to make sure whatever water or moisture problem you had has been resolved. Also, when you revisit the area, there shouldn't be any visible (or smelly) signs of mold left. If the space has been reoccupied with no one presenting health complaints (like shortness of breath or allergy symptoms), then you can say the cleanup has been successful.
Key Prevention Strategies Against Mold
The best way to deal with mold is to stop it in its tracks from growing in the first place. To create a mold-free environment, follow these tips:
- Control Moisture: This is the most important factor. Fix leaks, control humidity, and ensure proper ventilation. Get a hygrometer to measure indoor moisture levels, and consider a dehumidifier if necessary.
- Improve Ventilation: Make sure air circulates around the house, especially in bathrooms and kitchens. Turn in fans if needed.
- Regular Cleaning: Clean walls regularly to prevent dirt and grime buildup.
When to Call in the Professionals
Handling small mold problems is one thing, but when things get out of control is best to cut your losses and hire a professional mold remediation company. Here are some scenarios when you might require professional help:
- When the area affected by the mold is larger than 10 square feet.
- The mold has resulted from sewage or contaminated water.
- You or members of your family have health concerns.
- You tried to remove the mold, but it reappeared.
Need an Extra Hand? Call Restore-It
So, there you have it! While finding mold in your wall can lead to a lot of stress, by following the right methods and putting in some effort, you can eliminate that musty smell in no time! Now that we have taught you all about DIY mold removal in this guide, we hope you have the confidence to tackle this problem. For larger patches, we strongly recommend you contact Restore-It. Our experience team in mold remediation is dedicated to helping you create a healthy living environment.
Topics:


