
When the storm finally clears and the skies calm, how do you really know your home is safe? Is it possible that some water damage is slowly soaking into your walls, attic, or foundation without you even realizing it?
In this guide, you will learn how to spot the minor, hidden signs of post-storm damage before they become massive restoration projects.
Let's walk through a simple 10-point inspection checklist to protect your investment, prevent mold, and restore your peace of mind.
Before Starting: Safety First!
We get it. You are concerned about the hidden damage the last storm may have caused to your property. However, rushing and disregarding safety can't put you in unnecessary danger.
First of all, we do not recommend climbing on your roof without somebody helping you. You can fall off the ladder, or the ladder may drop once you are on the roof. Second, you shouldn't climb either if the roof is still wet or has been damaged by hail.
Our checklist is designed to be carried safely from the ground or inside your home. Any damage to major structures that you find along the way? Leave it to the professionals.
Your 10-Point Post-Storm Inspection Checklist
Grab a good flashlight and a pair of binoculars if you have them. To facilitate this checklist, we divided it into both exterior and interior inspections. Let's get started!
□ The Exterior Inspection
Start by walking the whole perimeter of your house. Look up, but also look down.
□ 1. Check Your Gutters and Downspouts for Dents
- What to look for: Look at the aluminum gutters and, most importantly, the downspouts. Are they covered in small, circular dents?
- Why it matters: Your downspouts are your home's "canary in the coal mine" for hail. If these soft metal-covered surfaces are dented, it is almost guaranteed that your roof shingles have also been severely damaged by hail, even if they don't appear to be damaged from the ground.
□ 2. Look for "Shingle Gravel" on the Ground
- What to look for: Go to the spots where your downspouts empty. Do you see a new, significant pile of black, brown, or gray "gravel" or sand?
- Why it matters: These are the asphalt granules from your shingles. Hail and high winds strip them off. These granules are the "sunscreen" for your shingles. Without this protective layer, the sun's UV rays will rapidly dry out and crack the underlying asphalt, leading to a roof leak within a year.
□ 3. Inspect Siding, Windows, and Vents
- What to look for: Examine your siding closely. On vinyl siding, look for cracks, chips, or small holes. On wood or fiber cement, look for chipped paint. Also, check your window screens for tears and the window trim for cracks or dents.
- Why it matters: A small hole in your siding from wind-blown debris is a direct entry point for rain. This water gets trapped behind the siding, where it rots the wooden sheathing of your home.
□ 4. Check for Water "Pooling" Against the Foundation
- What to look for: Walk around your foundation. Is water pooling in large puddles right next to the house? Are your basement window wells filled with leaves and water?
- Why it matters: Saturated soil against your foundation creates immense hydrostatic pressure, which can force water through tiny cracks in your concrete or block walls, leading to a wet basement or damp crawl space.
□ The Interior Inspection
Now, head inside. Some of the most important damage may be hidden. You will have to check for clues on the top and bottom floors of your home.
□ 5. The Attic Inspection (The Most Important Step)
- What to look for: Grab your flashlight, go into your attic, and turn off the attic lights. First, look for any pinpricks of daylight coming through the roof decking. Next, turn your flashlight on. Look at the underside of the roof decking (the wood sheathing). Do you see dark, new-looking stains, especially around nail points? Finally, look at the insulation on the attic floor. Do you see any damp, matted, or discolored spots?
- Why it matters: This is the frontline. Water from a damaged roof will show up here first, long before it ever reaches your ceiling. A damp spot in the insulation is a five-alarm fire for a water leak.
□ 6. Scan All Ceilings for New Stains
- What to look for: Walk through every room on your top floor. Look at the ceilings, especially in the corners and around light fixtures and vents.
- Why it matters: You are looking for new, faint, yellowish, or brownish rings. This is the telltale sign that water has soaked through your attic insulation, through your drywall, and is about to start dripping onto your floor.
□ 7. Check for Bubbling or Peeling Paint
- What to look for: Look at the walls, especially where they meet the ceiling. Do you see any spots where the paint is "bubbling," peeling, or cracking?
- Why it matters: A paint bubble is a pocket of trapped water. The drywall behind it is completely saturated.
□ 8. Inspect Your Basement or Crawl Space Walls
- What to look for: Go to your lowest level. Shine your flashlight along the bottom of the concrete or cinder block walls. Do you see new dark, damp lines? Is water actively seeping in where the wall meets the floor?
- Why it matters: This is the evidence that your foundation check (Step 4) failed, and water is being forced inside.
□ 9. Test Your Basement/Crawl Space Sump Pump
- What to look for: If you have a sump pump, find it. Check if it’s running. How about the water level? Is it low?
- Why it matters: A heavy storm can easily overwhelm a small or failing pump. Make sure yours is still doing its job.
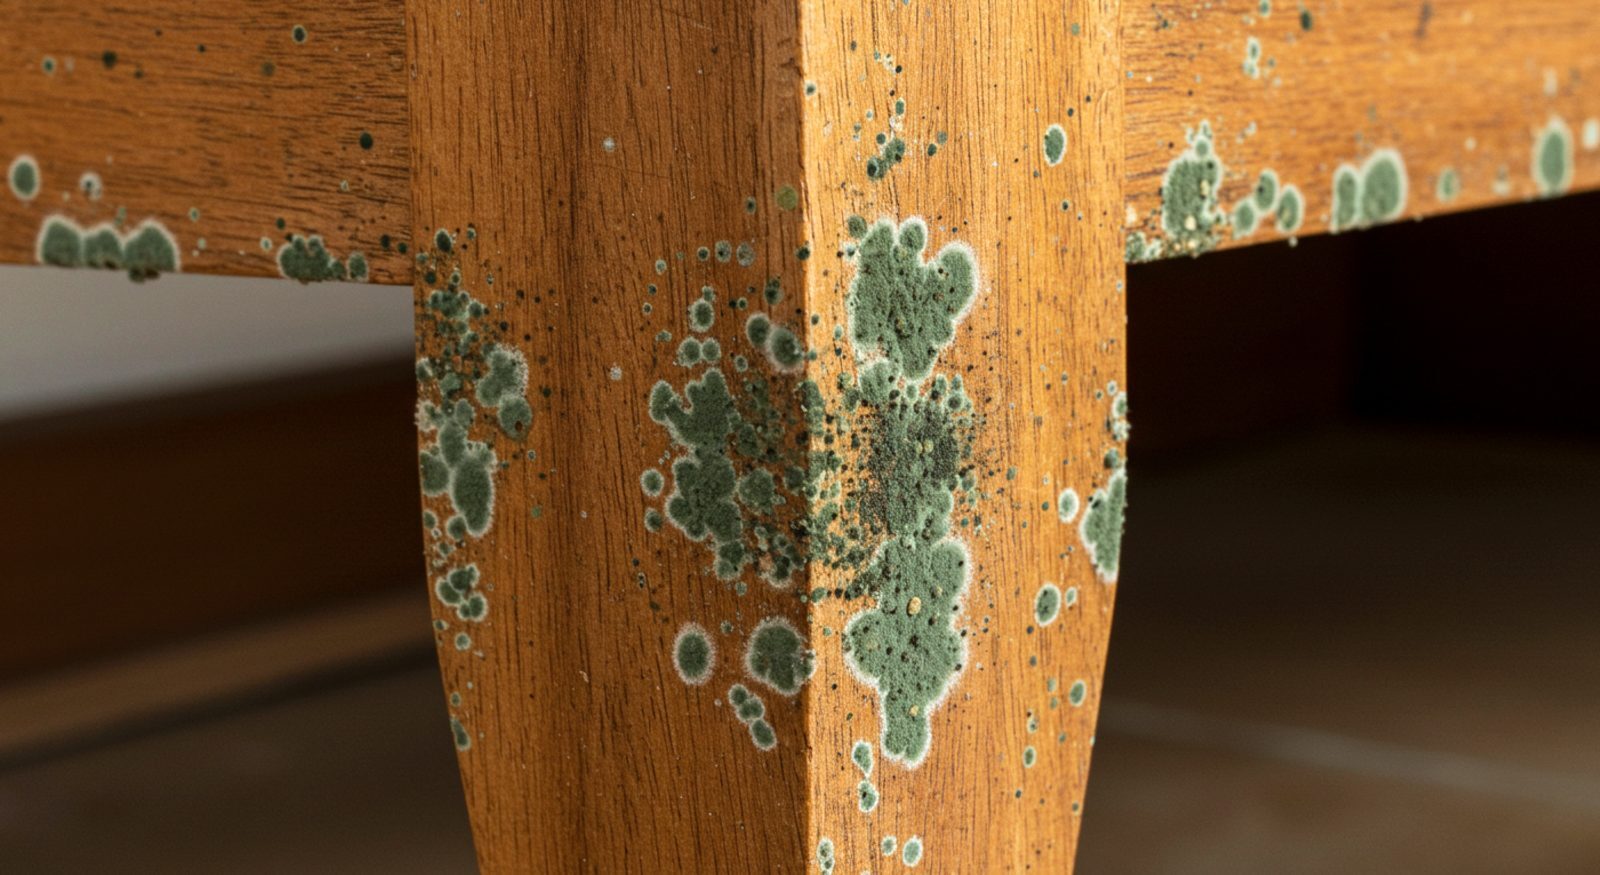
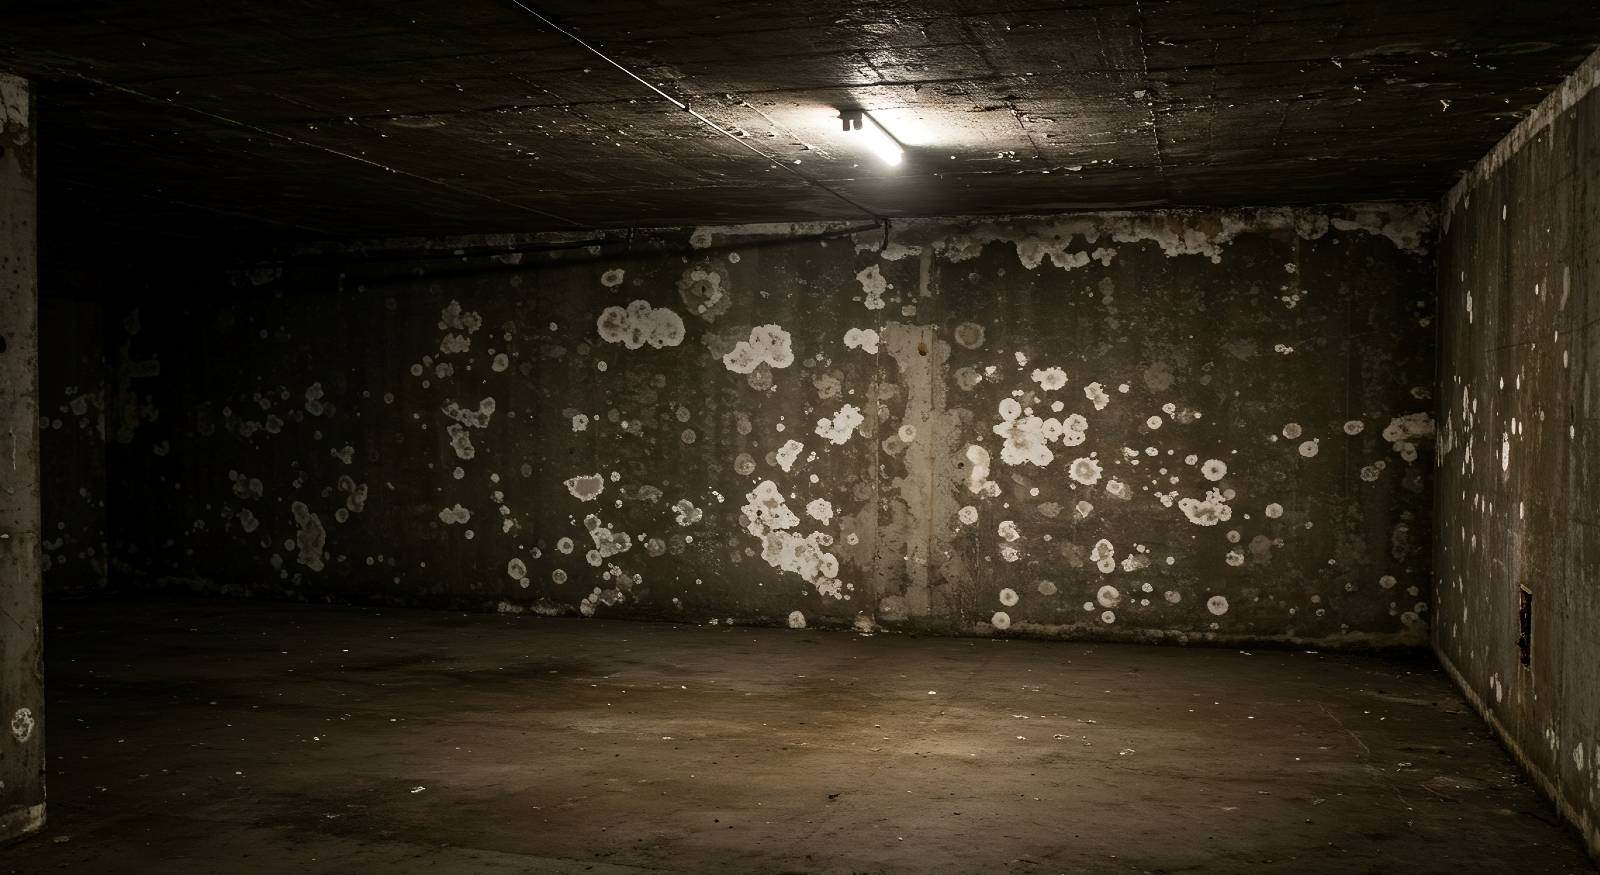
□ 10. Trust Your Nose (The 48-Hour Test)
- What to look for: This one comes a day or two later. Do you smell a new "musty," "damp," or "earthy" odor in your home, especially in the basement or attic?
- Why it matters: Trust your nose. That is the smell of a new mold colony. According to the EPA, mold can begin to grow on a damp surface within 24 to 48 hours. This smell is your body's first warning sign.
What to Do If You Find Damage
Finding any of these signs means you've caught a problem early. But what follows next is what will make the difference between a minor problem and a big issue. Don't delay any longer, and call a professional restoration company.

These specialists should be able to determine the extent of the damage and the appropriate measures to mitigate it, and create a comprehensive restoration plan. Be sure to document everything you find, and also contact your insurance adjuster.

Looking for Expert Help? Call Restore-It!
We hope that by reviewing our checklist, you will know precisely where and what to look for when it comes to storm damage. Remember, the greatest danger isn't what you can see, but it's what's quietly soaking behind your walls or roofline. If your inspection revealed any suspicious stains, smells, or dents, your next step is to schedule a professional inspection. As a restoration company with over a decade of experience helping hundreds of families in South Arkansas, we recommend calling Restore-It.
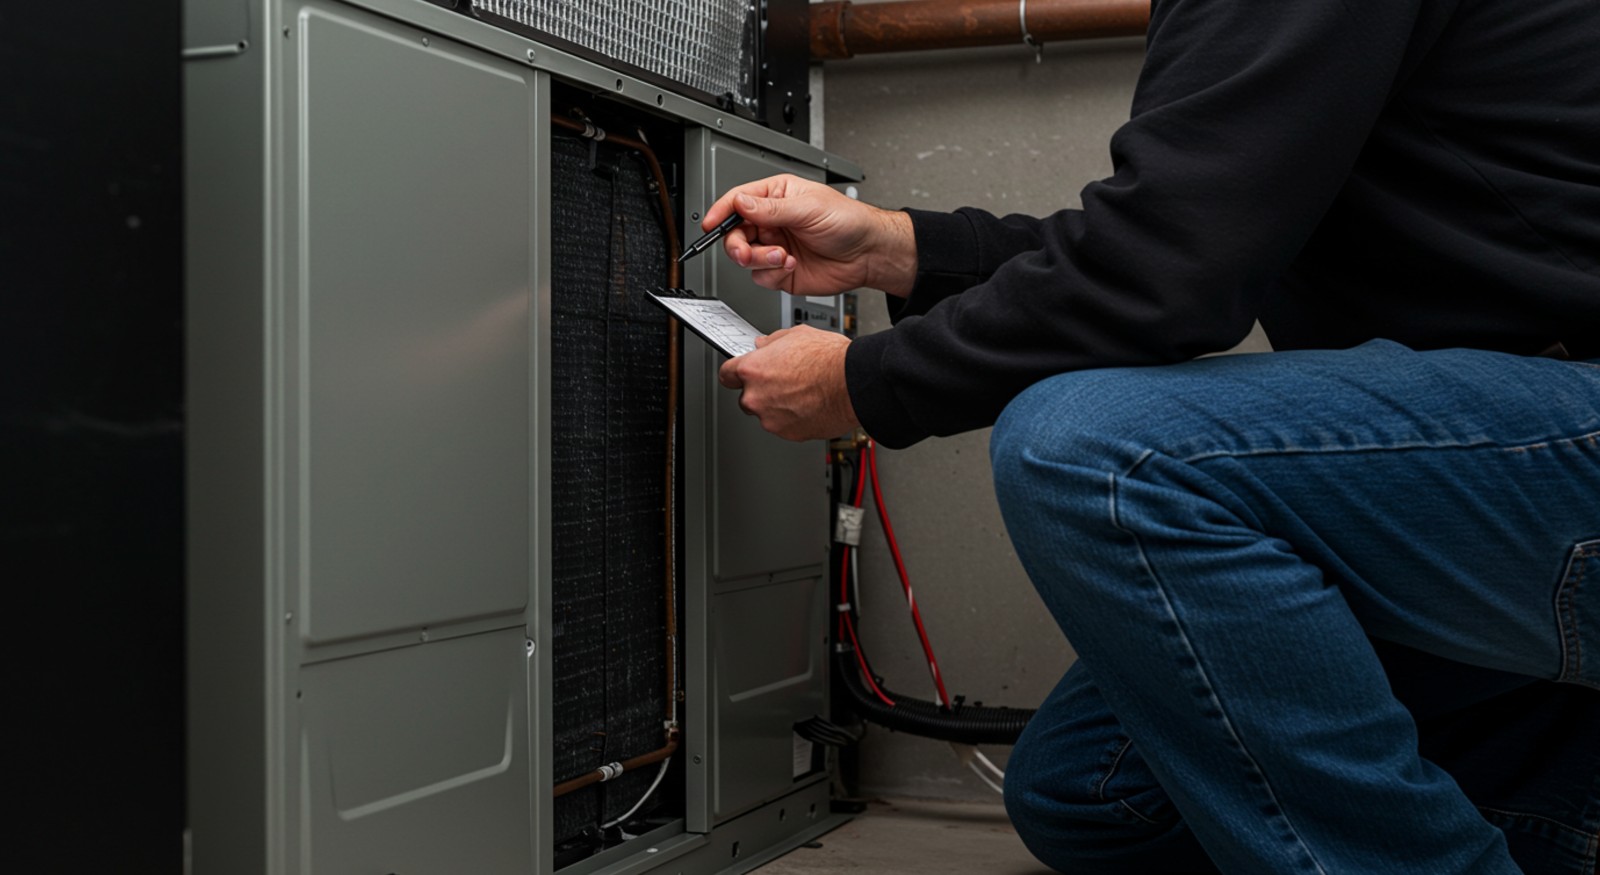
Our certified inspectors can assess your property using advanced tools (like thermal imaging cameras and moisture meters), saving you from future mold, insurance claims, and expensive structural work. We are here to act fast, locate the source of the problem, and restore your peace of mind. Let's work together and get the expert care your home deserves!

Topics:


