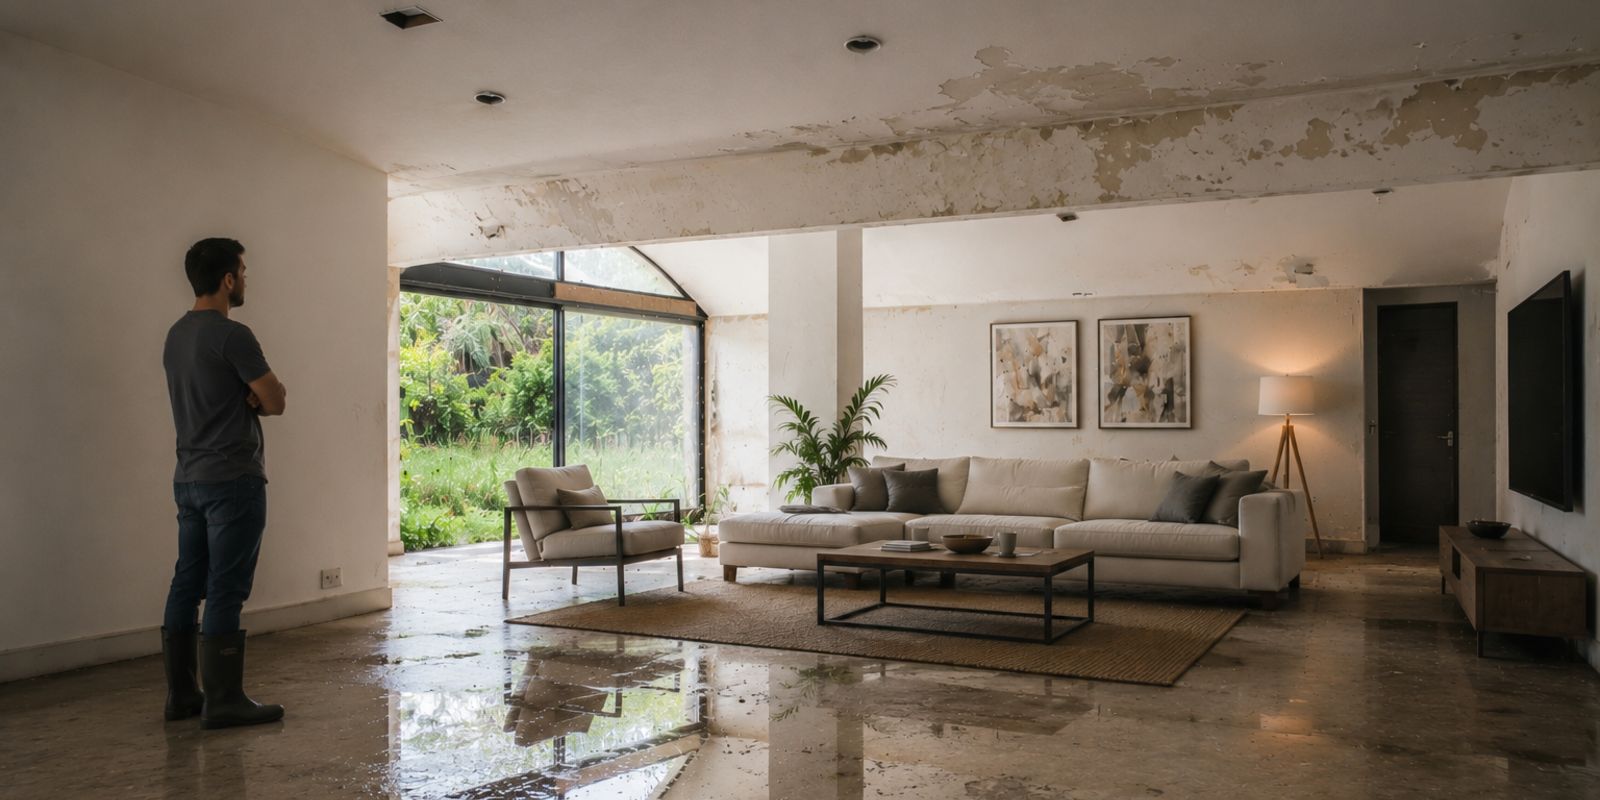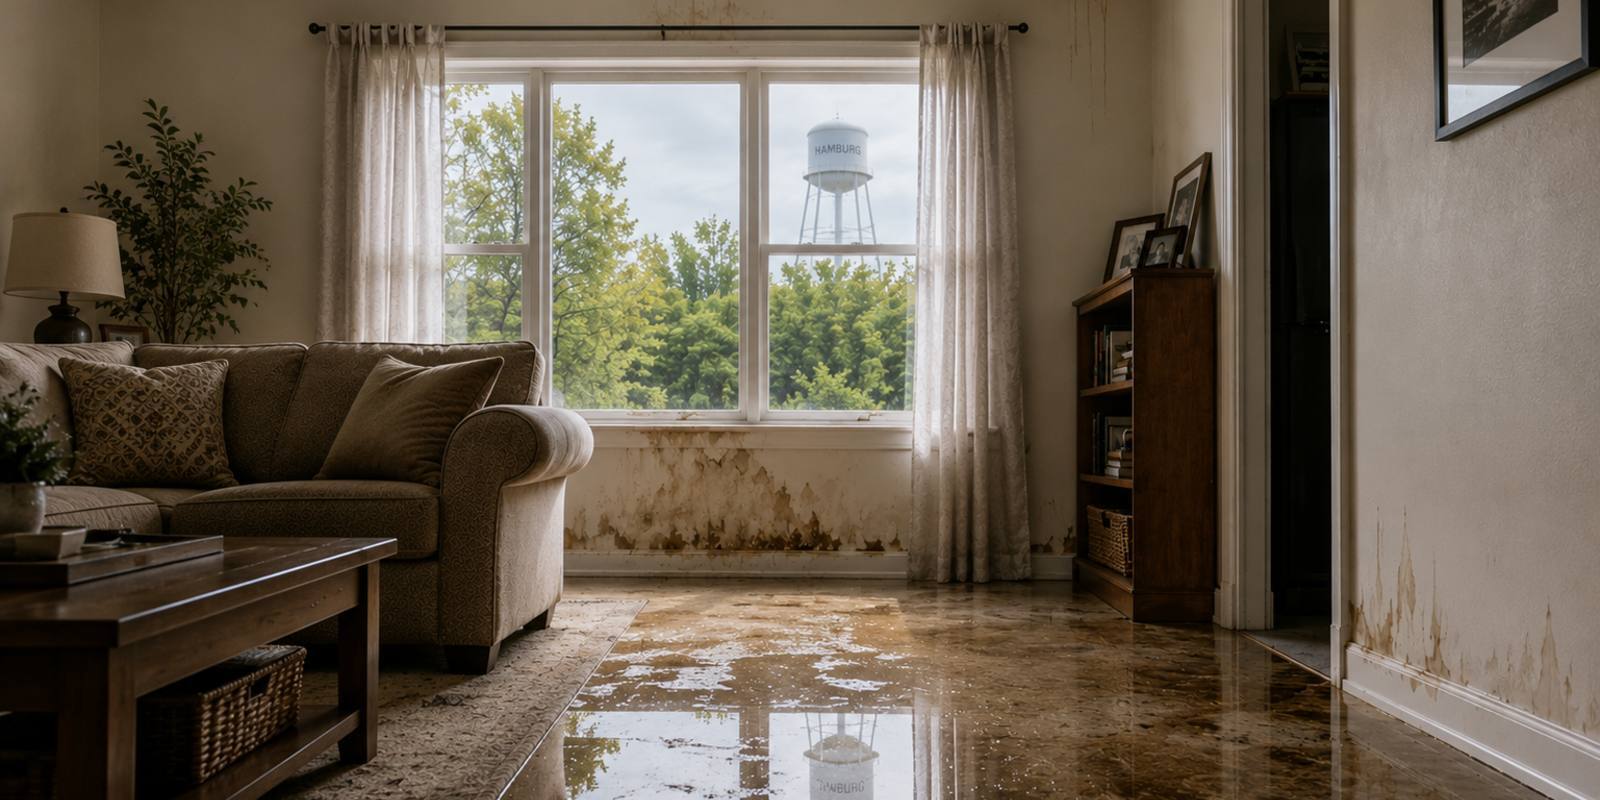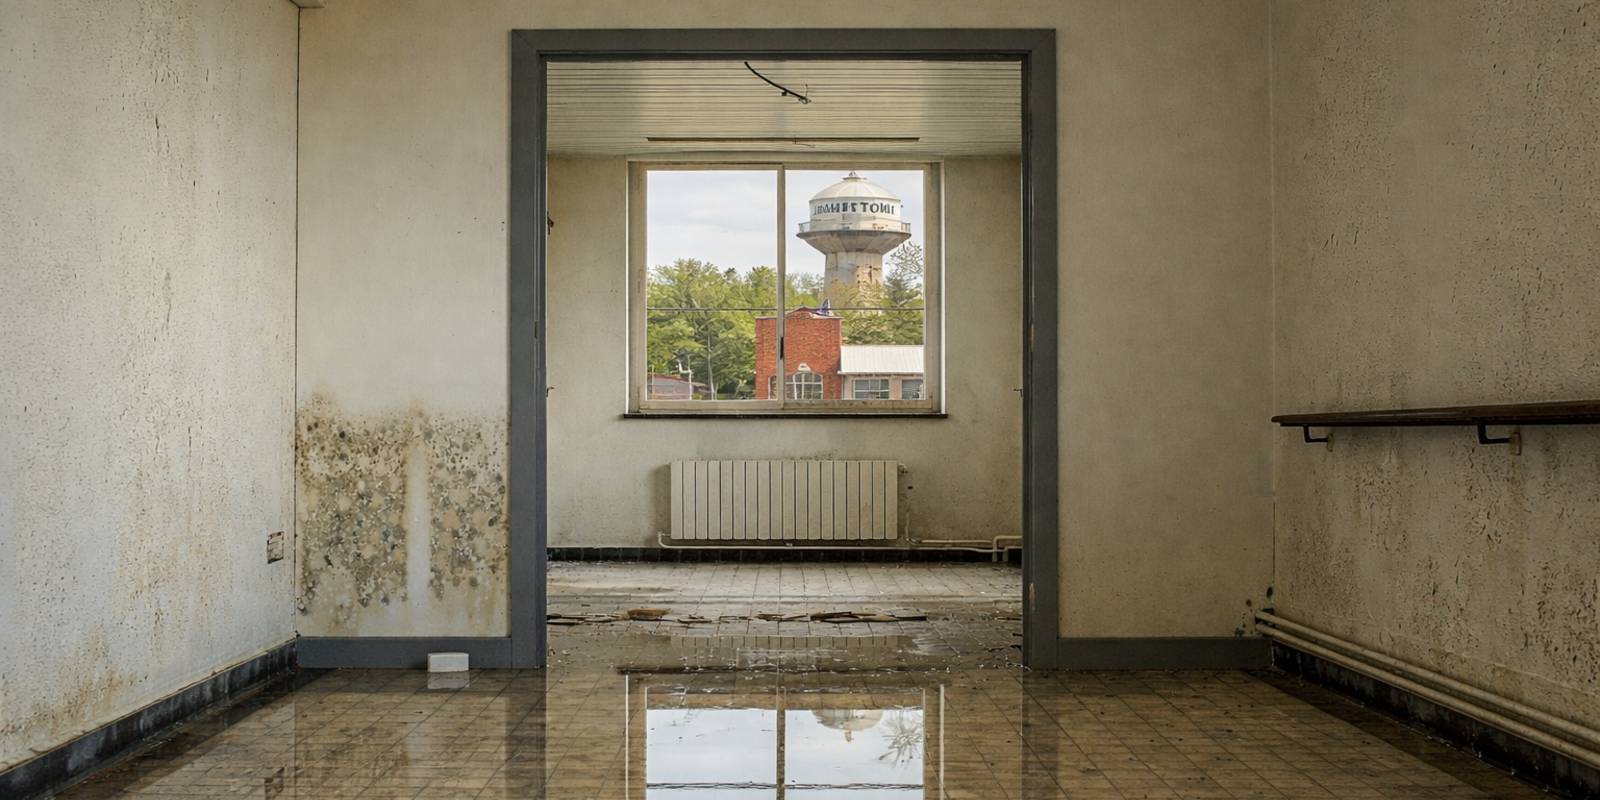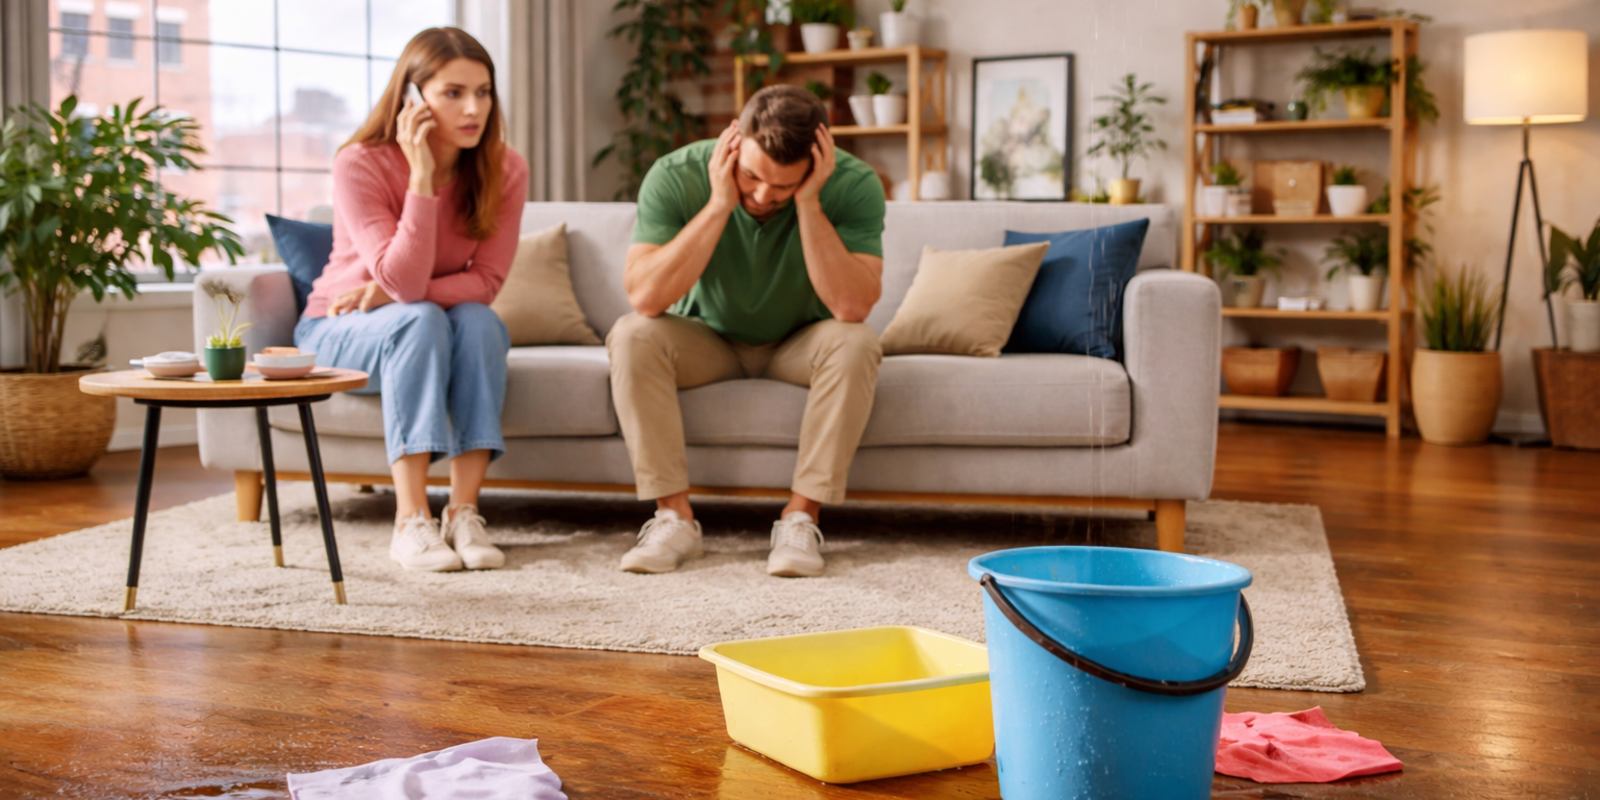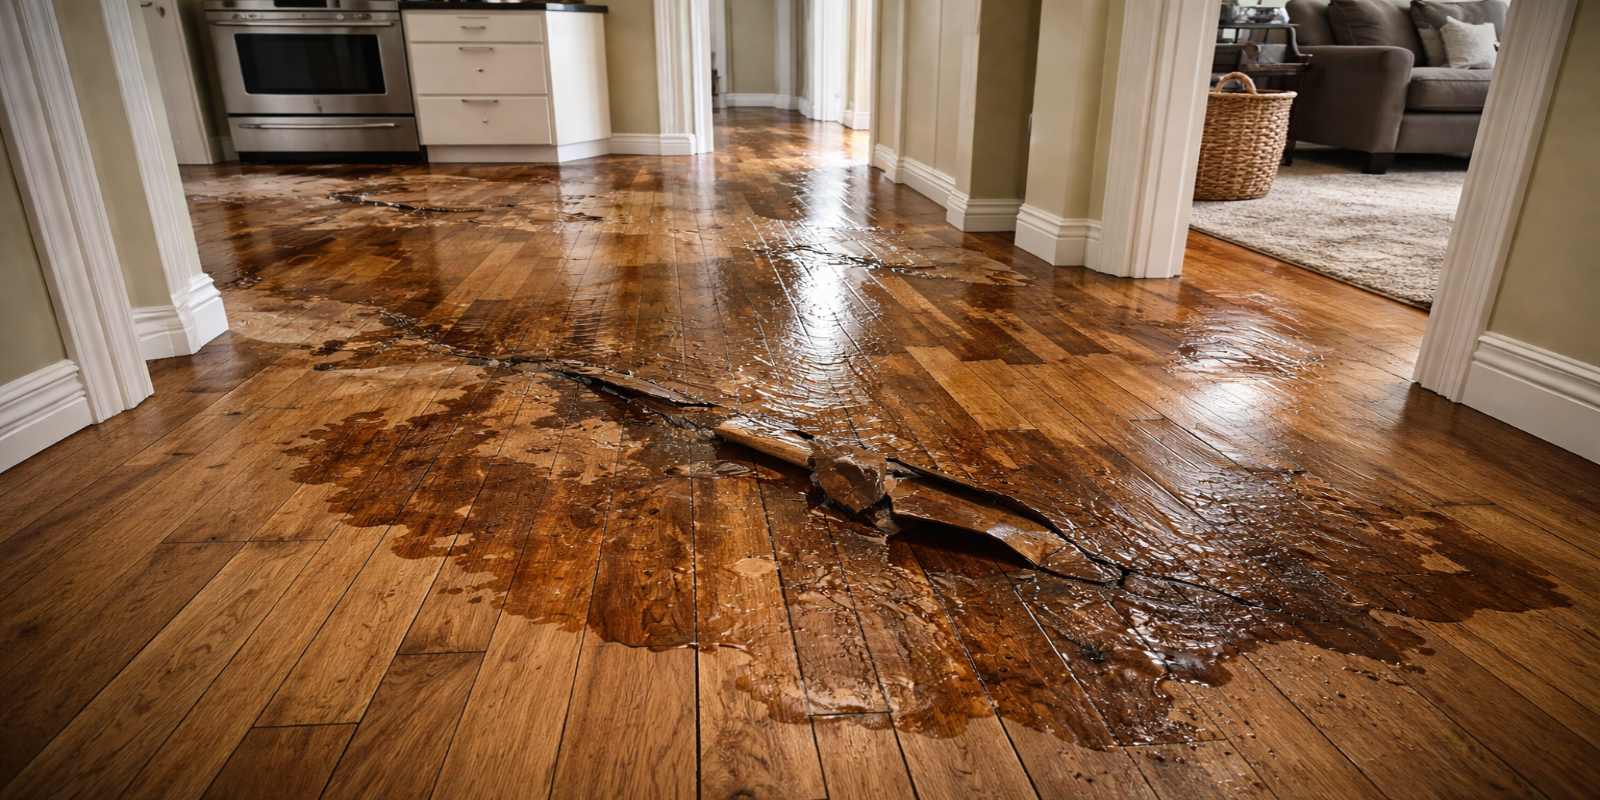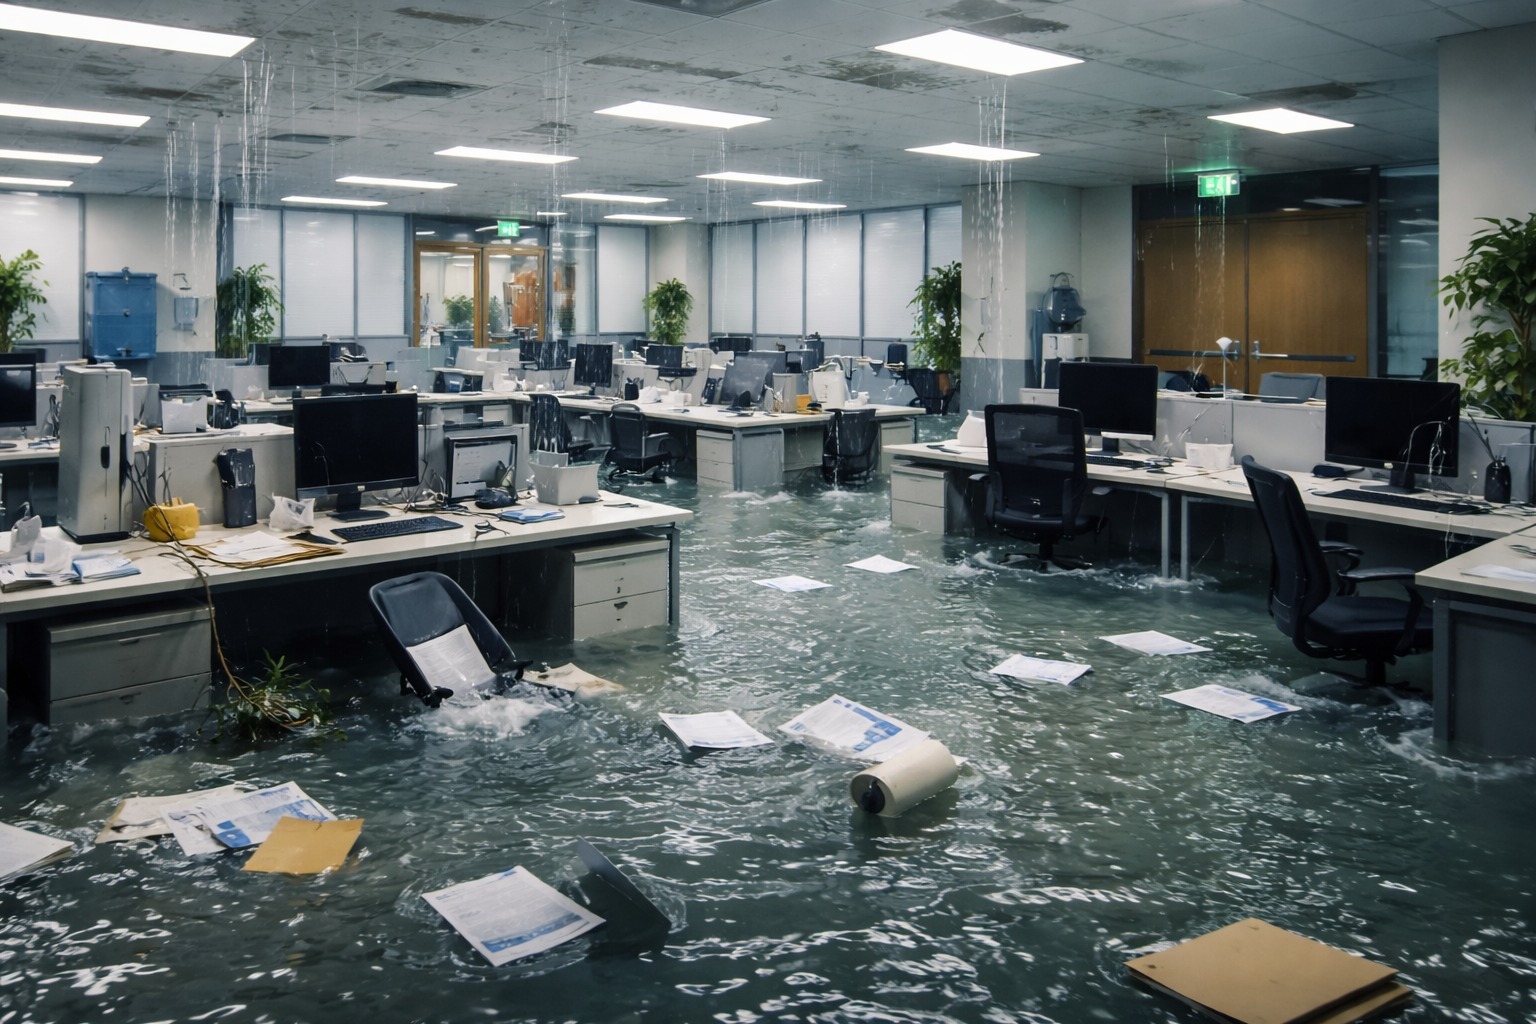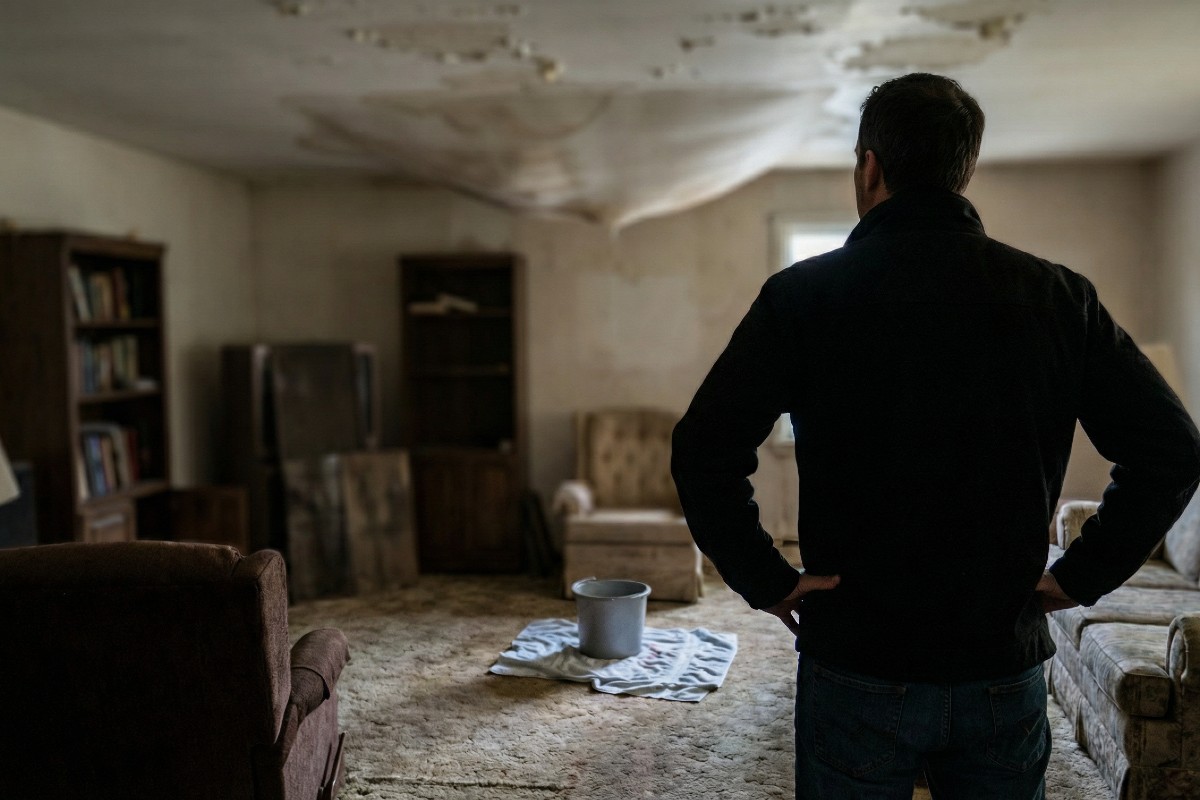

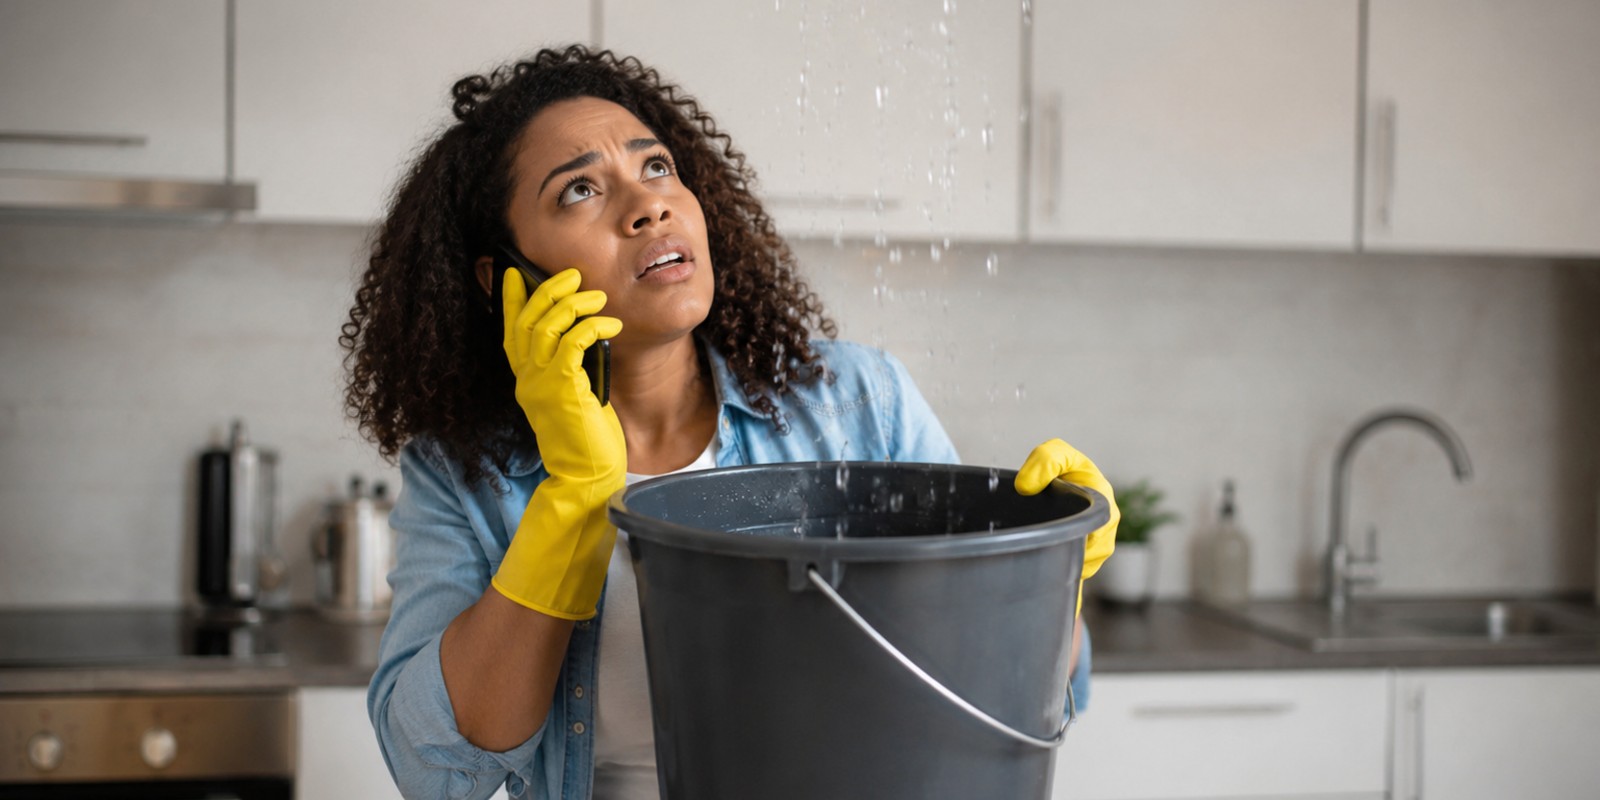
Did you happen to discover water pooling on your floor, dripping from the ceiling, or spreading from a neighboring unit? Then, you're probably wondering what to do first.
In an apartment, water damage can quickly become stressful because the problem may involve multiple tenants, property management, insurance providers, and your personal belongings all at once.
The first few hours after a water loss are often the most important. Water can soak into drywall, flooring, furniture, electronics, and other possessions before the full extent of the damage becomes visible. The longer moisture remains, the greater the risk of mold growth, unpleasant odors, and more extensive repairs.
Since 2012, Restore-It has helped homeowners, renters, property managers, and businesses throughout South Arkansas respond to water damage emergencies. From apartment leaks in El Dorado to major water losses across Camden, Magnolia, and surrounding communities, we've seen firsthand how quick action during the first 24 hours can significantly reduce damage and speed up recovery.
In this guide, you'll learn exactly what steps to take during the first day after an apartment water loss, how to protect your belongings, when to contact insurance, and when it's time to bring in a professional water damage restoration company.
Why the First 24 Hours Matter After an Apartment Water Loss
Water damage doesn't stop when the leak stops. Moisture continues to spread into building materials and belongings long after the initial incident.
|
Time After Water Loss |
What Can Happen |
|
First 24 Hours |
Water spreads into flooring, drywall, and personal belongings |
|
24-48 Hours |
Mold growth may begin in damp materials |
|
2-7 Days |
Odors develop, and materials begin deteriorating |
|
1 Week+ |
Structural repairs and extensive restoration may be needed |
The faster water is removed, and materials begin drying, the better your chances of preventing additional damage.
Step 1: Stop the Water Source and Notify Management Immediately
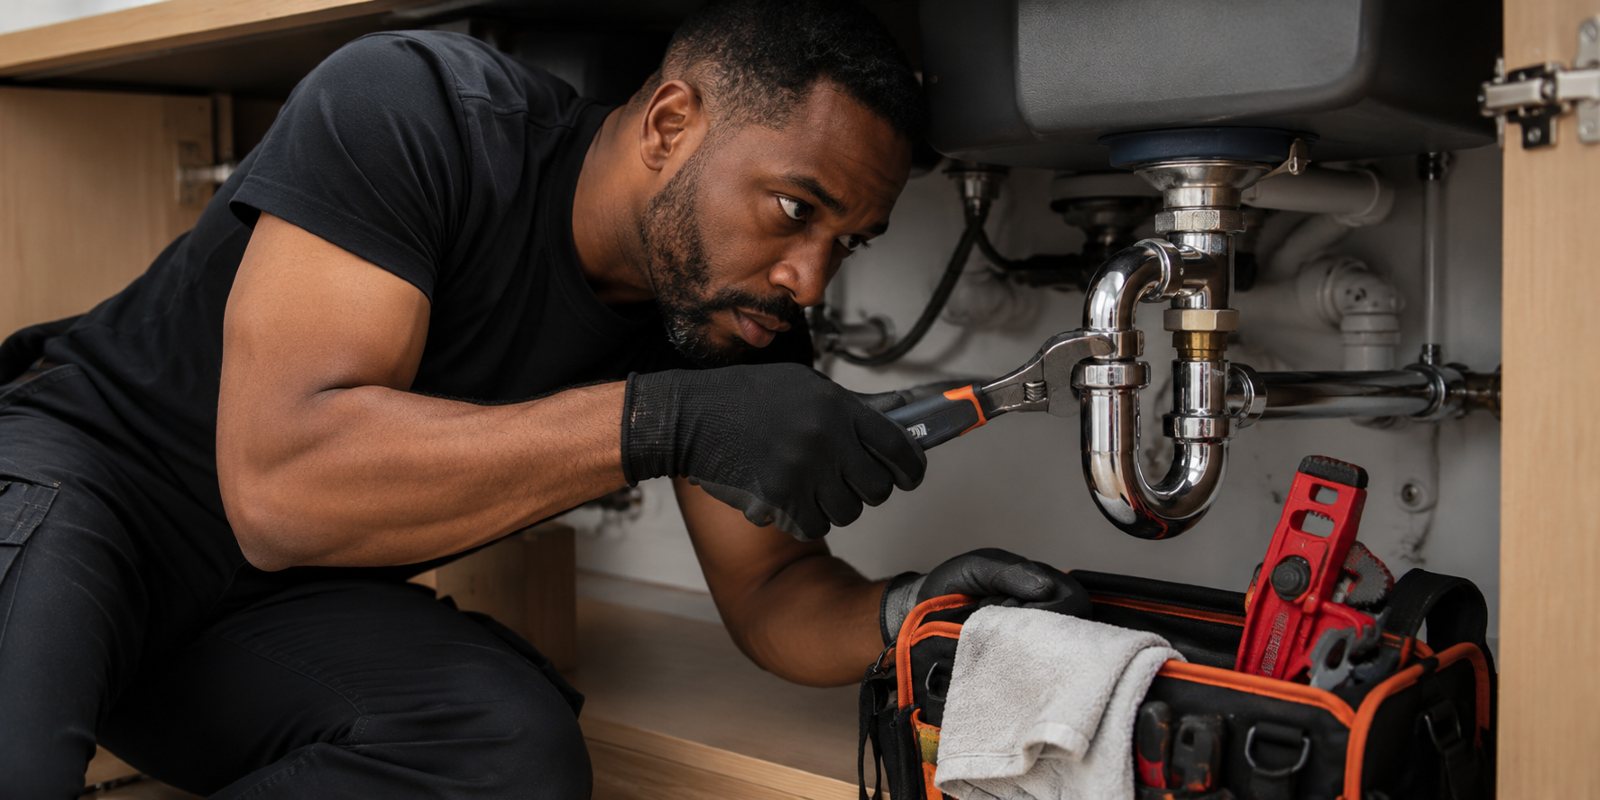
Your priority should be stopping additional water from entering the apartment whenever it is safe to do so.
|
Source |
What You Should Do |
|
Burst pipe |
Shut off water if accessible and call maintenance immediately |
|
Overflowing toilet |
Stop the water flow and report the incident |
|
Appliance leak |
Disconnect power if safe and notify management |
|
Upstairs unit leak |
Document the damage and contact management immediately |
If the water source cannot be safely stopped, contact your apartment's emergency maintenance line immediately.
Be sure to save any emails, texts, or maintenance reports related to the incident. These records may be useful later for insurance or liability discussions.
Step 2: Protect Yourself From Electrical and Safety Hazards
Water and electricity can be a dangerous combination.
Safety Checklist
Before entering affected areas:
- Avoid standing water near electrical outlets
- Do not touch wet electrical devices
- Watch for slippery flooring
- Keep children and pets away from affected areas
- Leave the apartment if structural damage is suspected
Your safety should always come before protecting property or belongings.
Step 3: Document All Damage Before Cleanup Begins
Before moving items or starting cleanup, document the condition of the apartment thoroughly.
What Should You Photograph?
- Standing water
- Wet flooring
- Damaged furniture
- Electronics
- Clothing
- Walls and ceilings
- The source of the leak if visible
Documentation Checklist
|
Item |
Why It Matters |
|
Photos |
Creates evidence for insurance claims |
|
Video walkthrough |
Shows the full extent of damage |
|
Inventory list |
Helps support reimbursement requests |
|
Receipts |
Verifies ownership and value |
The more documentation you gather now, the easier the insurance process is likely to be later.
Step 4: Move Belongings Away From Standing Water
After documenting the damage, begin protecting items that can be safely moved.
Prioritize These Items First
- Electronics
- Important documents
- Medications
- Family photos
- Clothing and bedding
- Furniture with fabric upholstery
If possible, relocate items to a dry room or elevate them off wet flooring.
The goal is to prevent additional damage while drying efforts are underway.
Once you’ve moved your belongings out of harm’s way, the next concern usually becomes insurance and what your policy actually covers.
Understanding this early can save time and frustration later, especially when you begin filing a claim.

Step 5: Contact Your Renters Insurance Provider
Once things are under control and your belongings are documented, it’s time to loop in your renters' insurance provider.
What Renters Insurance Often Covers
|
May Be Covered |
Often Not Covered |
|
Personal belongings damaged by a sudden leak |
Flood damage from rising water |
|
Temporary living expenses (depending on policy) |
Damage caused by long-term neglect |
|
Electronics and furniture |
Certain high-value items beyond policy limits |
Every policy is different, so review your specific coverage and follow your carrier's claim instructions carefully.
At this point, most of the immediate risks have been addressed, and the focus shifts to drying everything as quickly and completely as possible.
Step 6: Begin Drying the Area as Quickly as Possible
The drying process should begin immediately once the source of water has been addressed.
Immediate Drying Actions
- Remove excess water
- Turn on fans
- Increase air circulation
- Run dehumidifiers
- Remove wet rugs
- Open cabinet doors
- Separate wet fabrics
Drying Methods Compared
|
Method |
Best For |
|
Fans |
Surface drying |
|
Dehumidifiers |
Removing moisture from the air |
|
Air movers |
Accelerating evaporation |
|
Professional drying equipment |
Hidden moisture in walls and floors |
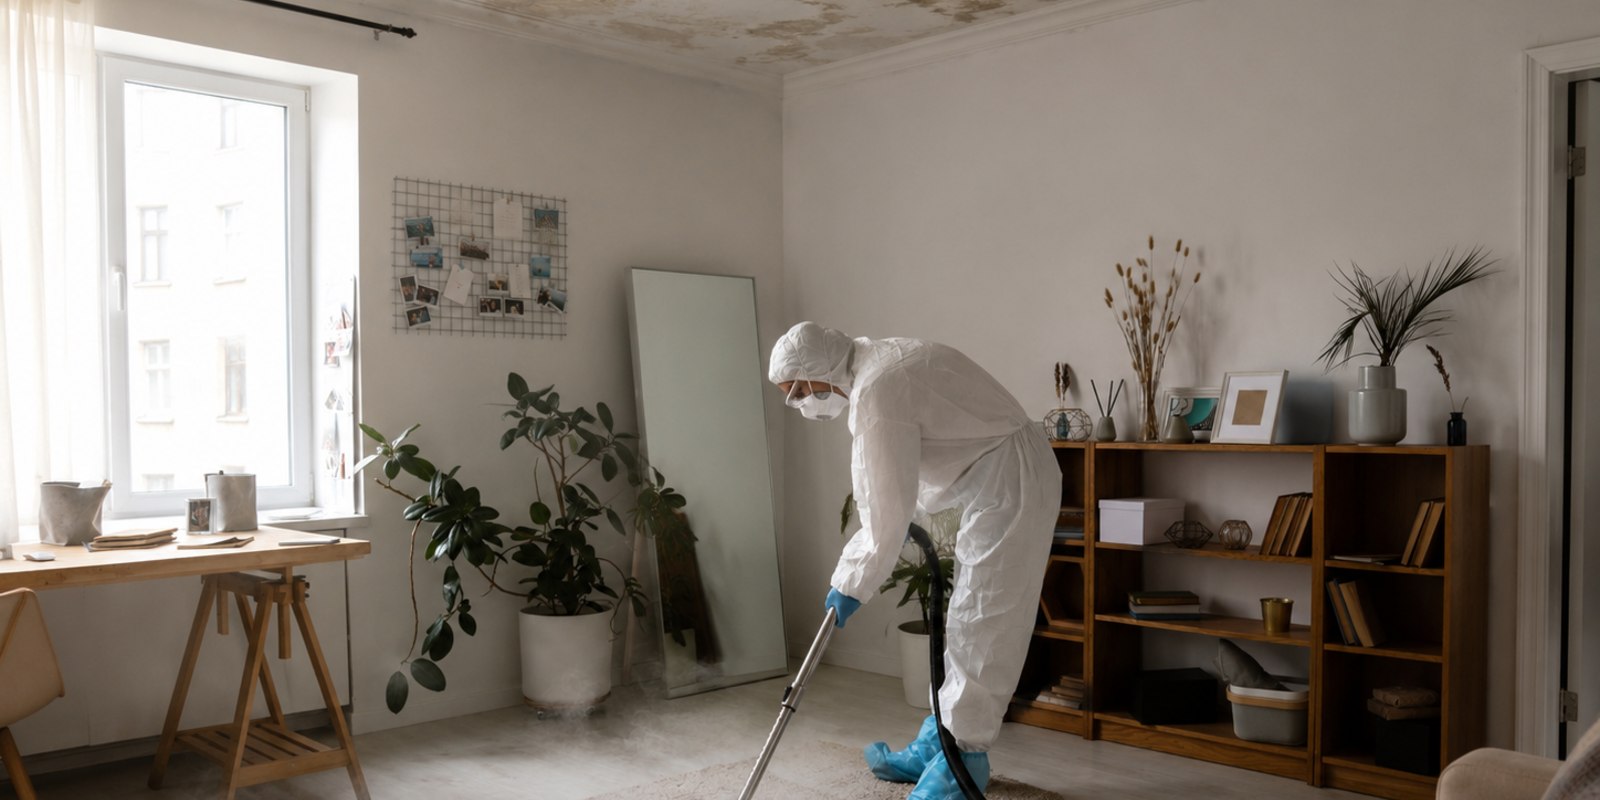
Visible dryness does not always mean materials underneath are dry. Hidden moisture can remain trapped behind walls and flooring.
Even after everything looks dry on the surface, moisture can still hide inside walls, flooring, and other materials.
Step 7: Watch for Signs of Mold Growth and Hidden Moisture
Even after initial cleanup, moisture can remain in building materials.
Warning Signs of Hidden Moisture
- Musty odors
- Bubbling paint
- Soft drywall
- Warped flooring
- Ceiling stains
- Persistent humidity
Mold Risk Timeline
|
Moisture Exposure |
Risk Level |
|
Less than 24 hours |
Low |
|
24-48 hours |
Moderate |
|
More than 48 hours |
Increasing mold risk |
|
Several days or weeks |
High |
If you notice any of these warning signs, additional drying or professional restoration may be necessary.
Who Pays for Water Damage in an Apartment?
Responsibility often depends on the cause of the water loss.
|
Scenario |
Potentially Responsible Party |
|
Building pipe failure |
Property owner |
|
Tenant overflowed bathtub |
Tenant |
|
Upstairs neighbor caused a leak |
Neighbor and/or their insurance |
|
Storm-related issue |
Depends on the lease and insurance policies |
Because lease agreements and insurance policies vary, it's important to speak with property management and your insurance provider to understand how responsibility may apply to your specific situation.
When Should You Call a Professional Water Damage Restoration Company?
While minor incidents can sometimes be managed quickly, larger losses often require professional equipment and moisture detection tools.
Call a Professional If:
- Water has been present for more than 24 hours.
- Drywall is wet
- Flooring is saturated
- Multiple rooms are affected.
- Water came from a contaminated source.
- You notice musty odors.
- Mold is visible
- You suspect hidden moisture behind the walls.
If the situation feels widespread or you suspect moisture has worked its way into areas you can’t easily see, it’s usually a sign that professional help is needed.
At Restore-It, we use specialized equipment to locate hidden moisture, dry affected areas thoroughly, and reduce the risk of long-term damage turning into costly repairs.
Your next step is learning what professional water damage mitigation and remediation actually involve

The First Day Can Make a Big Difference
A water loss in your apartment can feel overwhelming, especially when it affects your home, your belongings, and your sense of stability. What matters most is that the actions you take when water enters your home, the speed of response, make a real difference in how much damage you end up dealing with.
Restore-It provides emergency water damage restoration services throughout El Dorado, Camden, and surrounding Arkansas communities. Our team responds quickly to locate hidden moisture, start the drying process, and help prevent further damage from spreading behind walls and flooring.
If you’re dealing with an active situation, reaching out early can make the cleanup faster, simpler, and far less disruptive.

Topics: